How To Create a Windows 10/11 Bootable USB Pendrive
Learn how to create a Windows 10/11 bootable USB pendrive with this simple guide. Use tools like Rufus or the Windows Media Creation Tool to make your USB ready for installation.
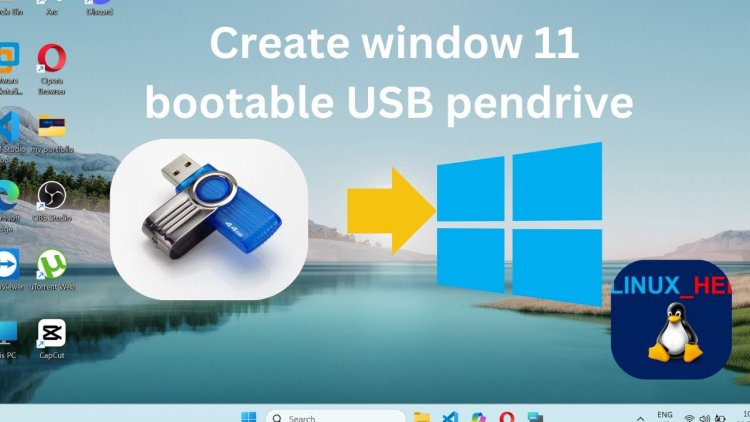
Creating a Windows 10/11 Bootable USB Pendrive: A Step-by-Step Guide
Creating a Windows 10/11 bootable USB pendrive is an essential skill for anyone looking to install or repair their operating system. This guide will walk you through the entire process, ensuring you have all the tools and steps needed to create your bootable USB. We will cover everything from downloading the necessary software to troubleshooting common issues.
Why Create a Bootable USB Pendrive?
Bootable USB drives are incredibly useful for several reasons:
- They allow you to install or reinstall Windows without needing a DVD drive.
- You can troubleshoot and repair issues with your operating system.
- USB drives are generally faster than DVDs, leading to quicker installations.
What You Will Need
Before we begin, gather the following items:
- A USB flash drive (at least 8GB in size).
- A working computer with an internet connection.
- Windows 10/11 ISO file or the Media Creation Tool.
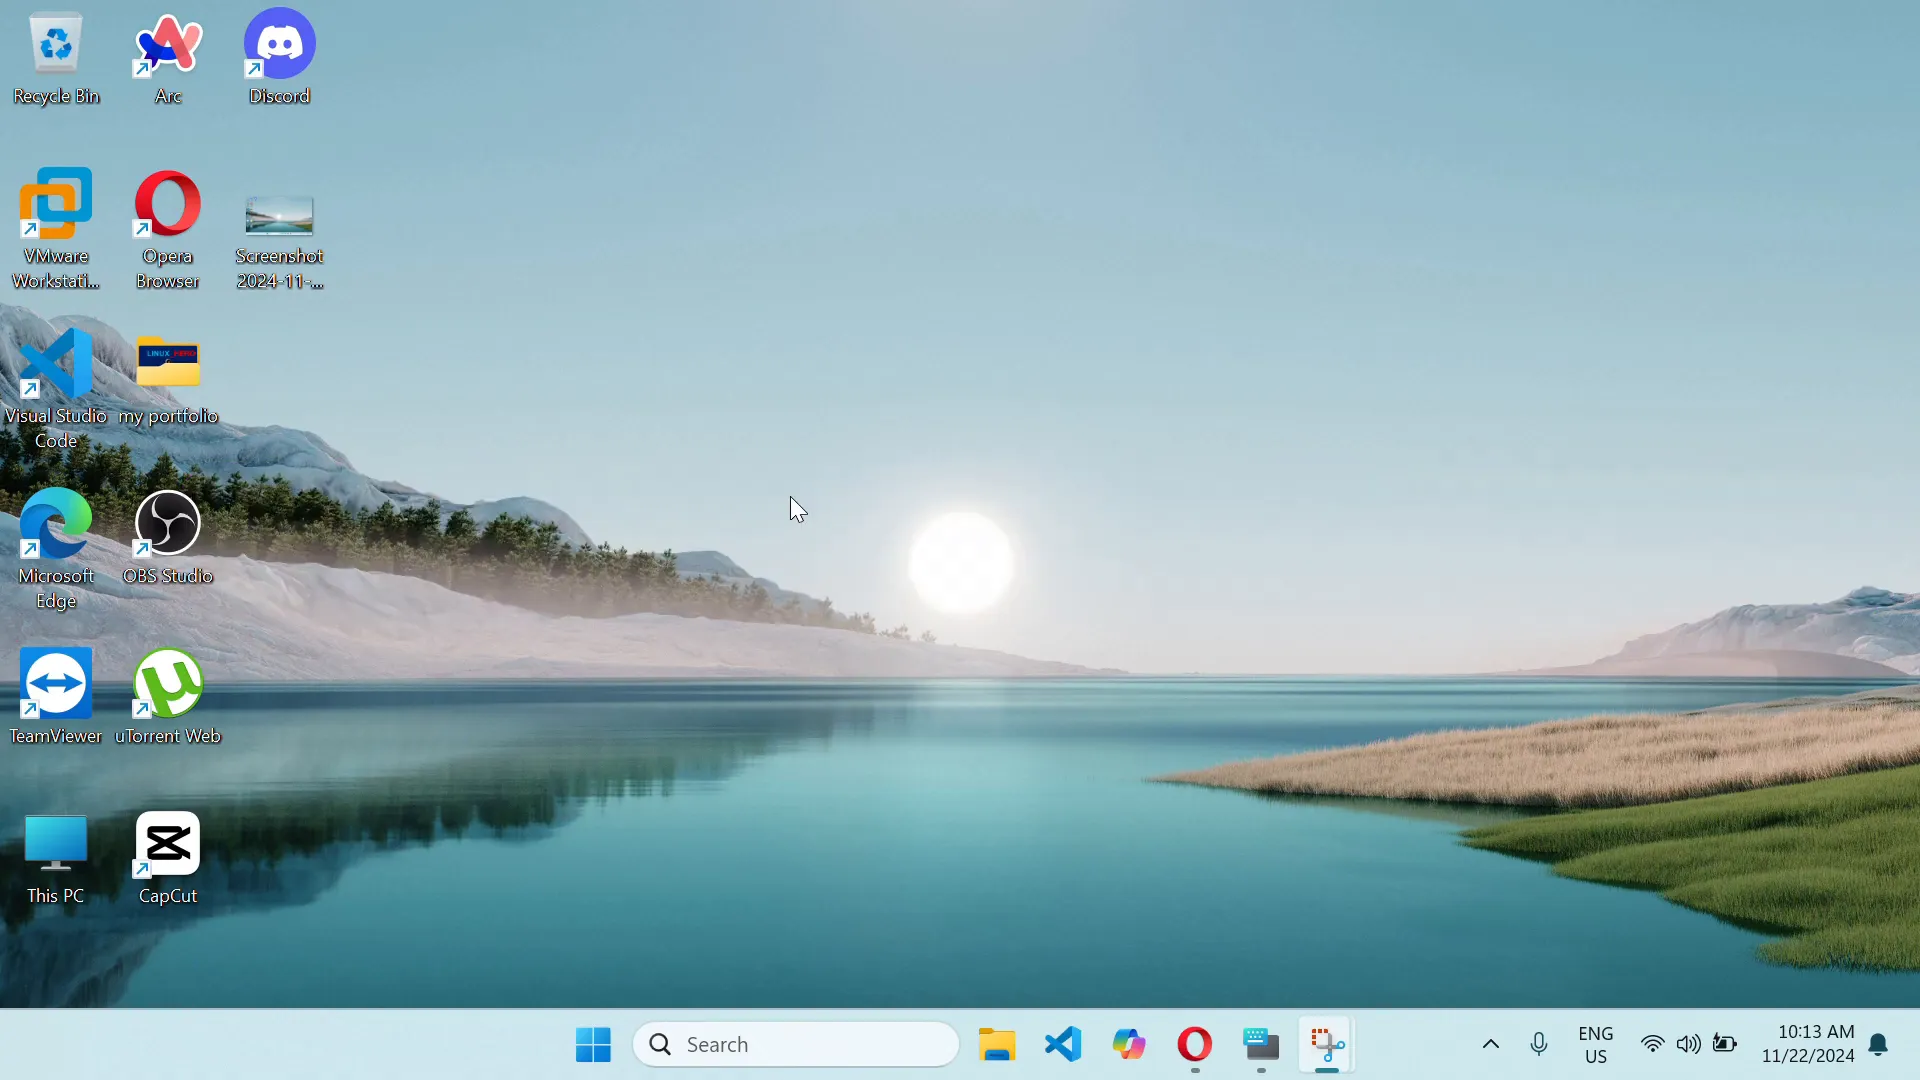
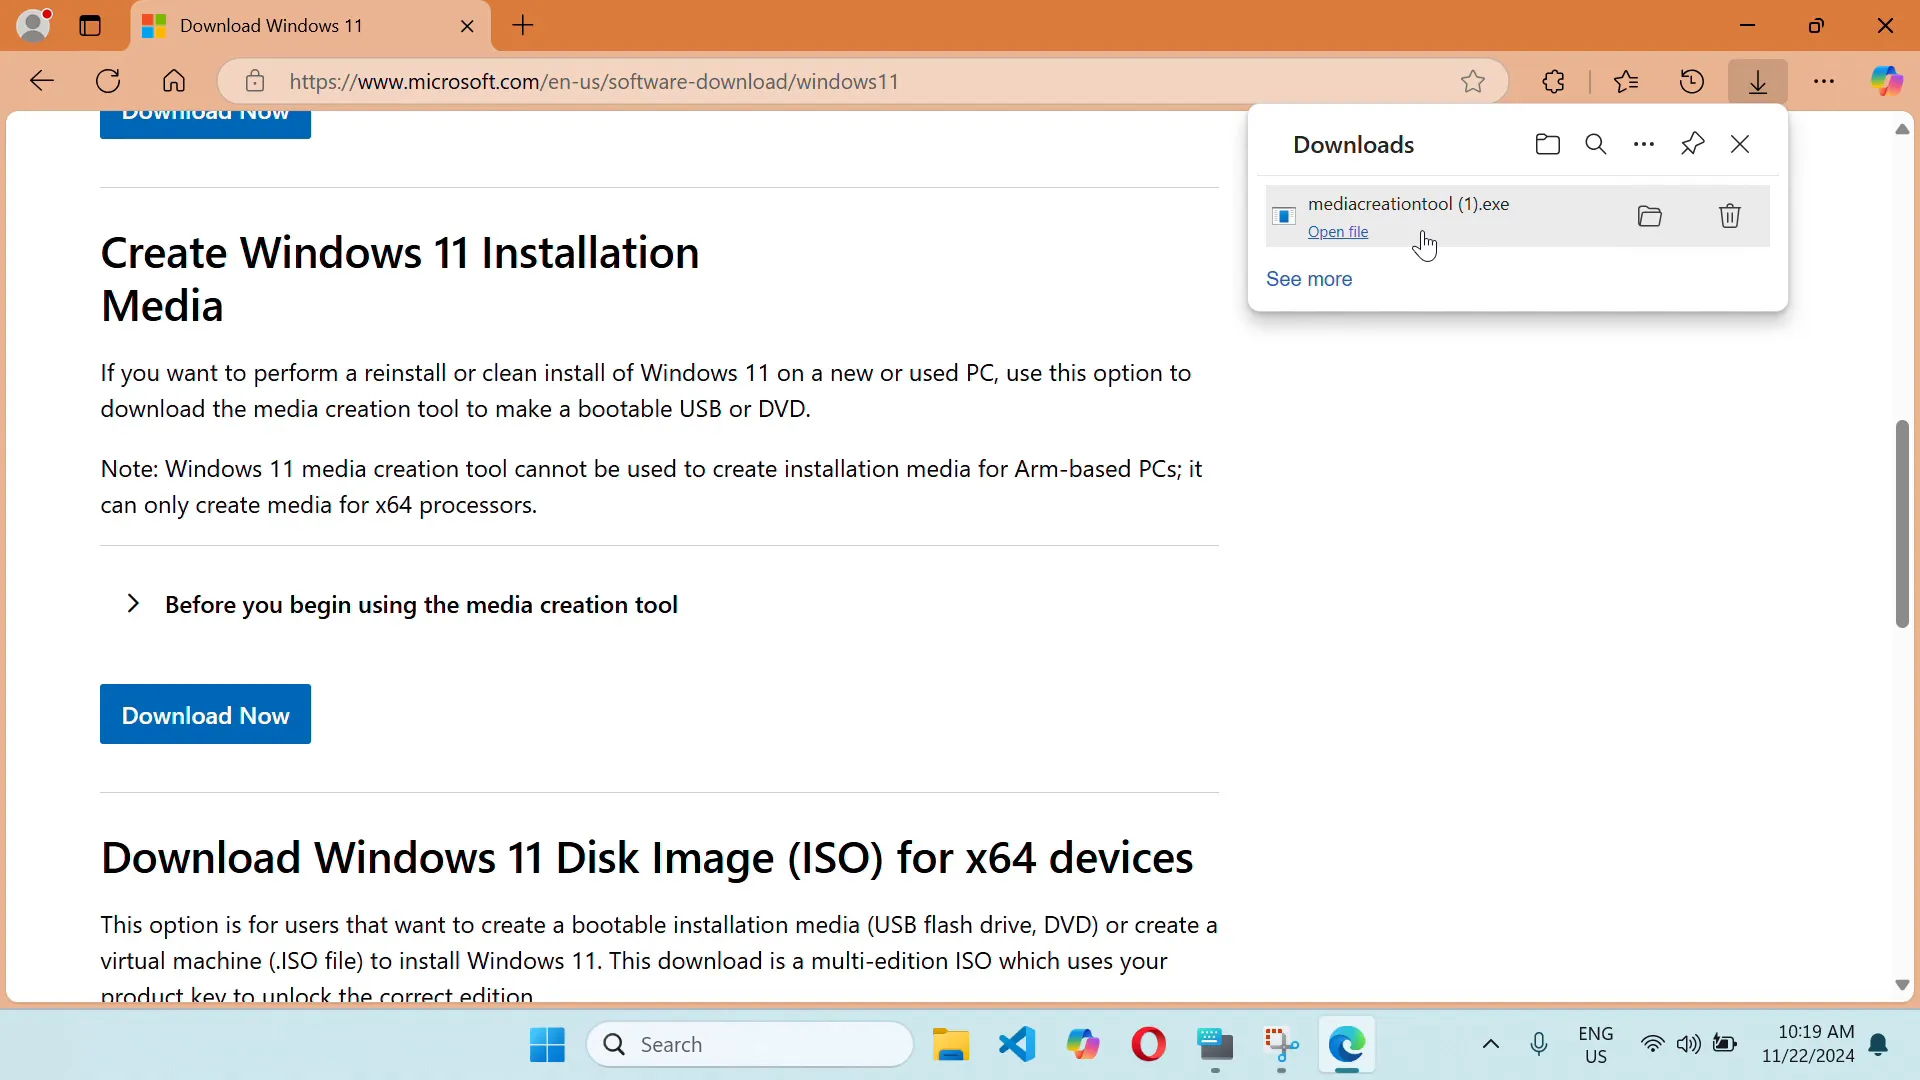
Step 1: Download the Windows Media Creation Tool
The first step is to download the Windows Media Creation Tool. This tool will help you create the bootable USB drive.
To download the tool:
- Visit the Microsoft website.
- Scroll down and find the section for downloading the Media Creation Tool.
- Click on the download button for the tool.
Step 2: Prepare the USB Drive
Once you have downloaded the tool, it’s time to prepare your USB drive:
- Insert your USB flash drive into the computer.
- Make sure to back up any data on the USB drive, as this process will erase everything.
Step 3: Run the Media Creation Tool
Now, you’ll run the Media Creation Tool to create your bootable USB:
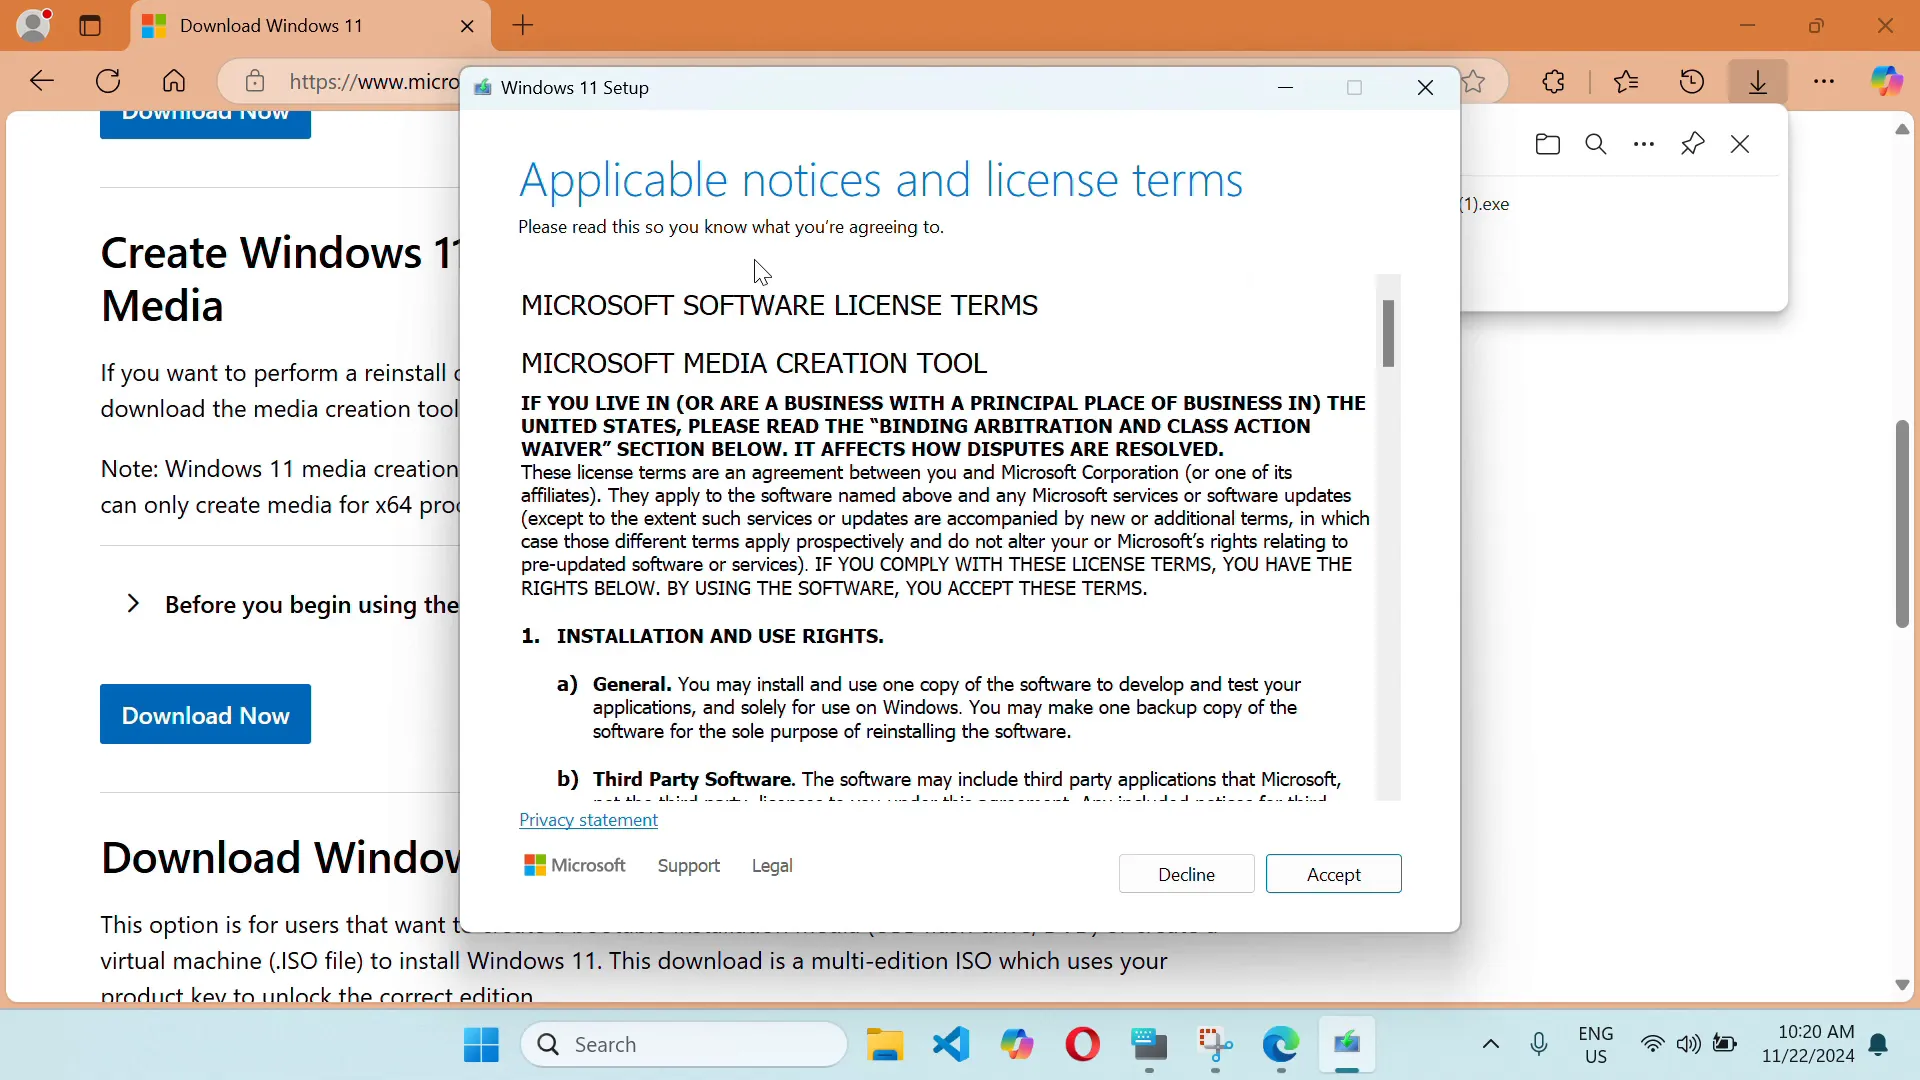
- Open the Media Creation Tool you just downloaded.
- Accept the license terms when prompted.
- Choose “Create installation media (USB flash drive, DVD, or ISO file) for another PC” and click Next.
Step 4: Choose Language and Edition
You will need to choose the language and edition of Windows:
- Select your preferred language, edition, and architecture (64-bit or 32-bit).
- Click Next to continue.
Step 5: Select USB Flash Drive
Next, you’ll select the USB flash drive as your media type:
- Choose “USB flash drive” and click Next.
- Select your USB drive from the list and click Next.
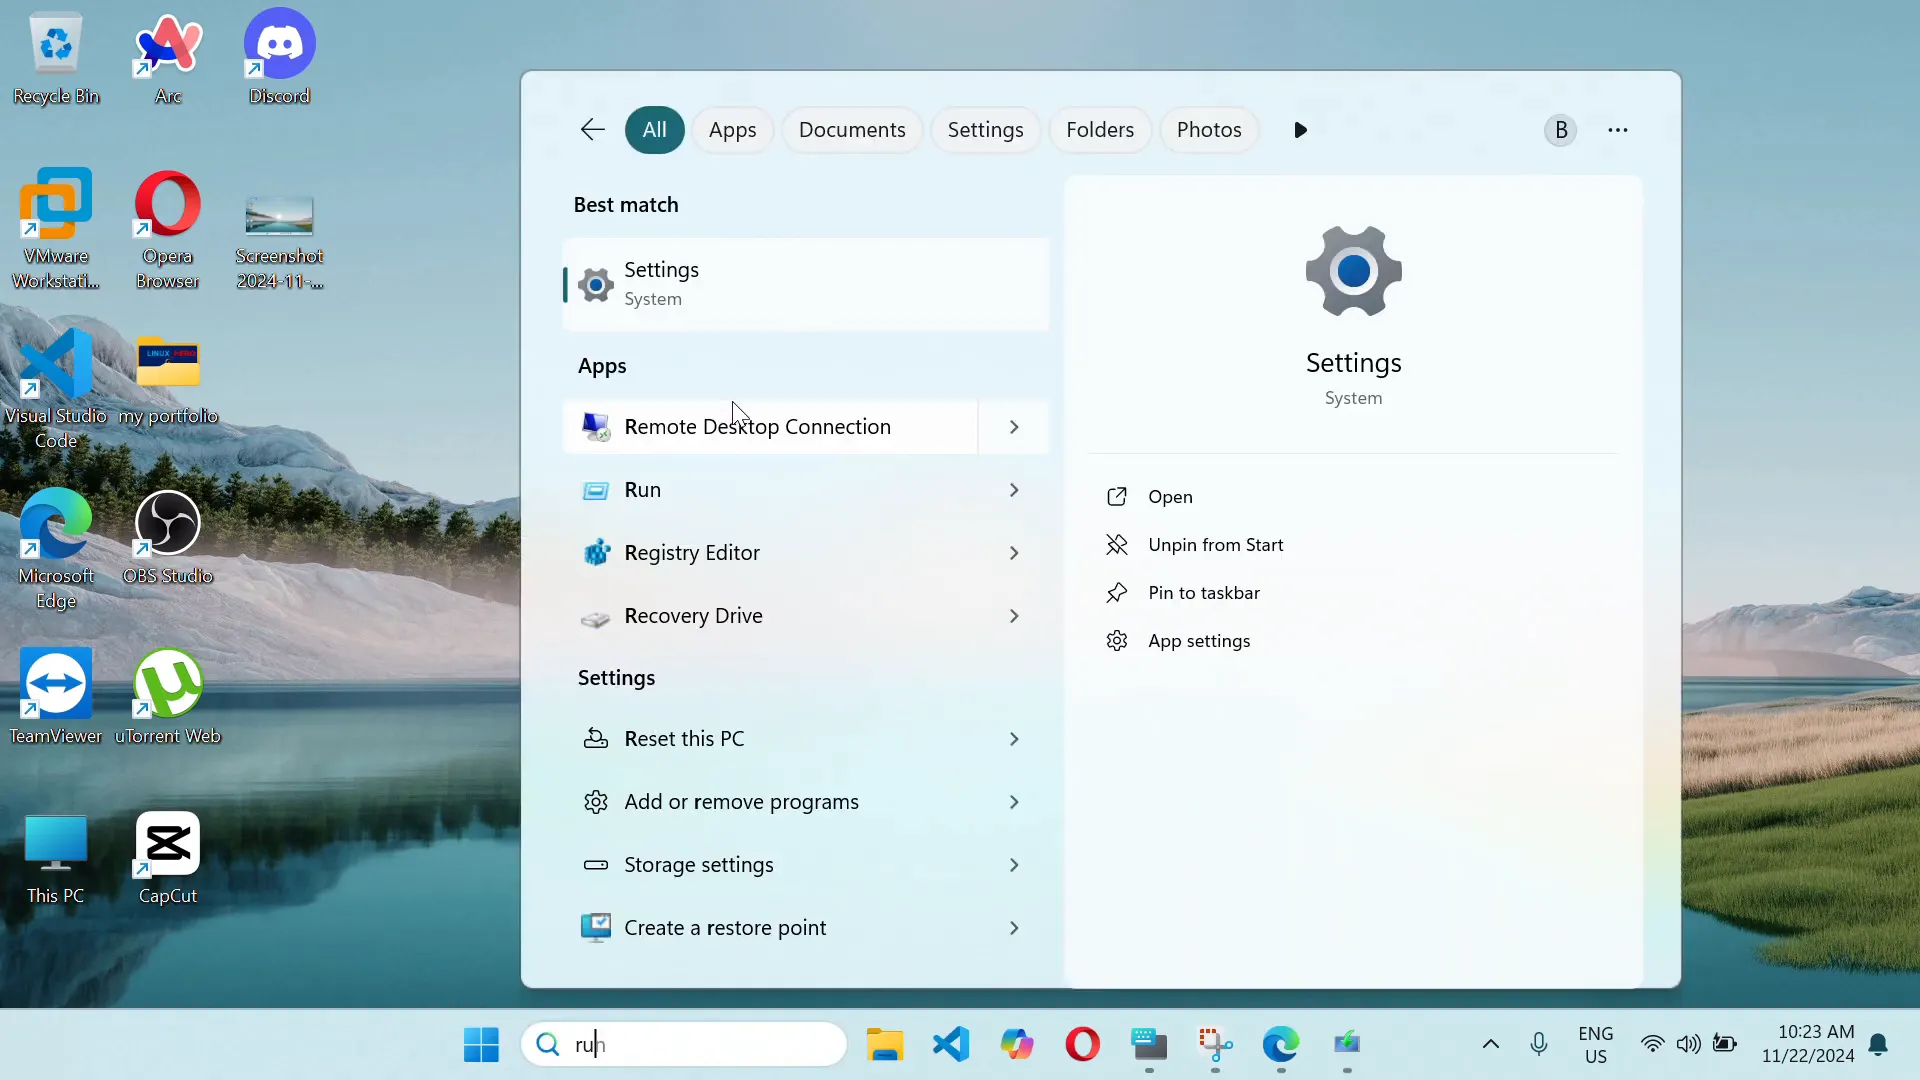
Step 6: Creating the Bootable USB
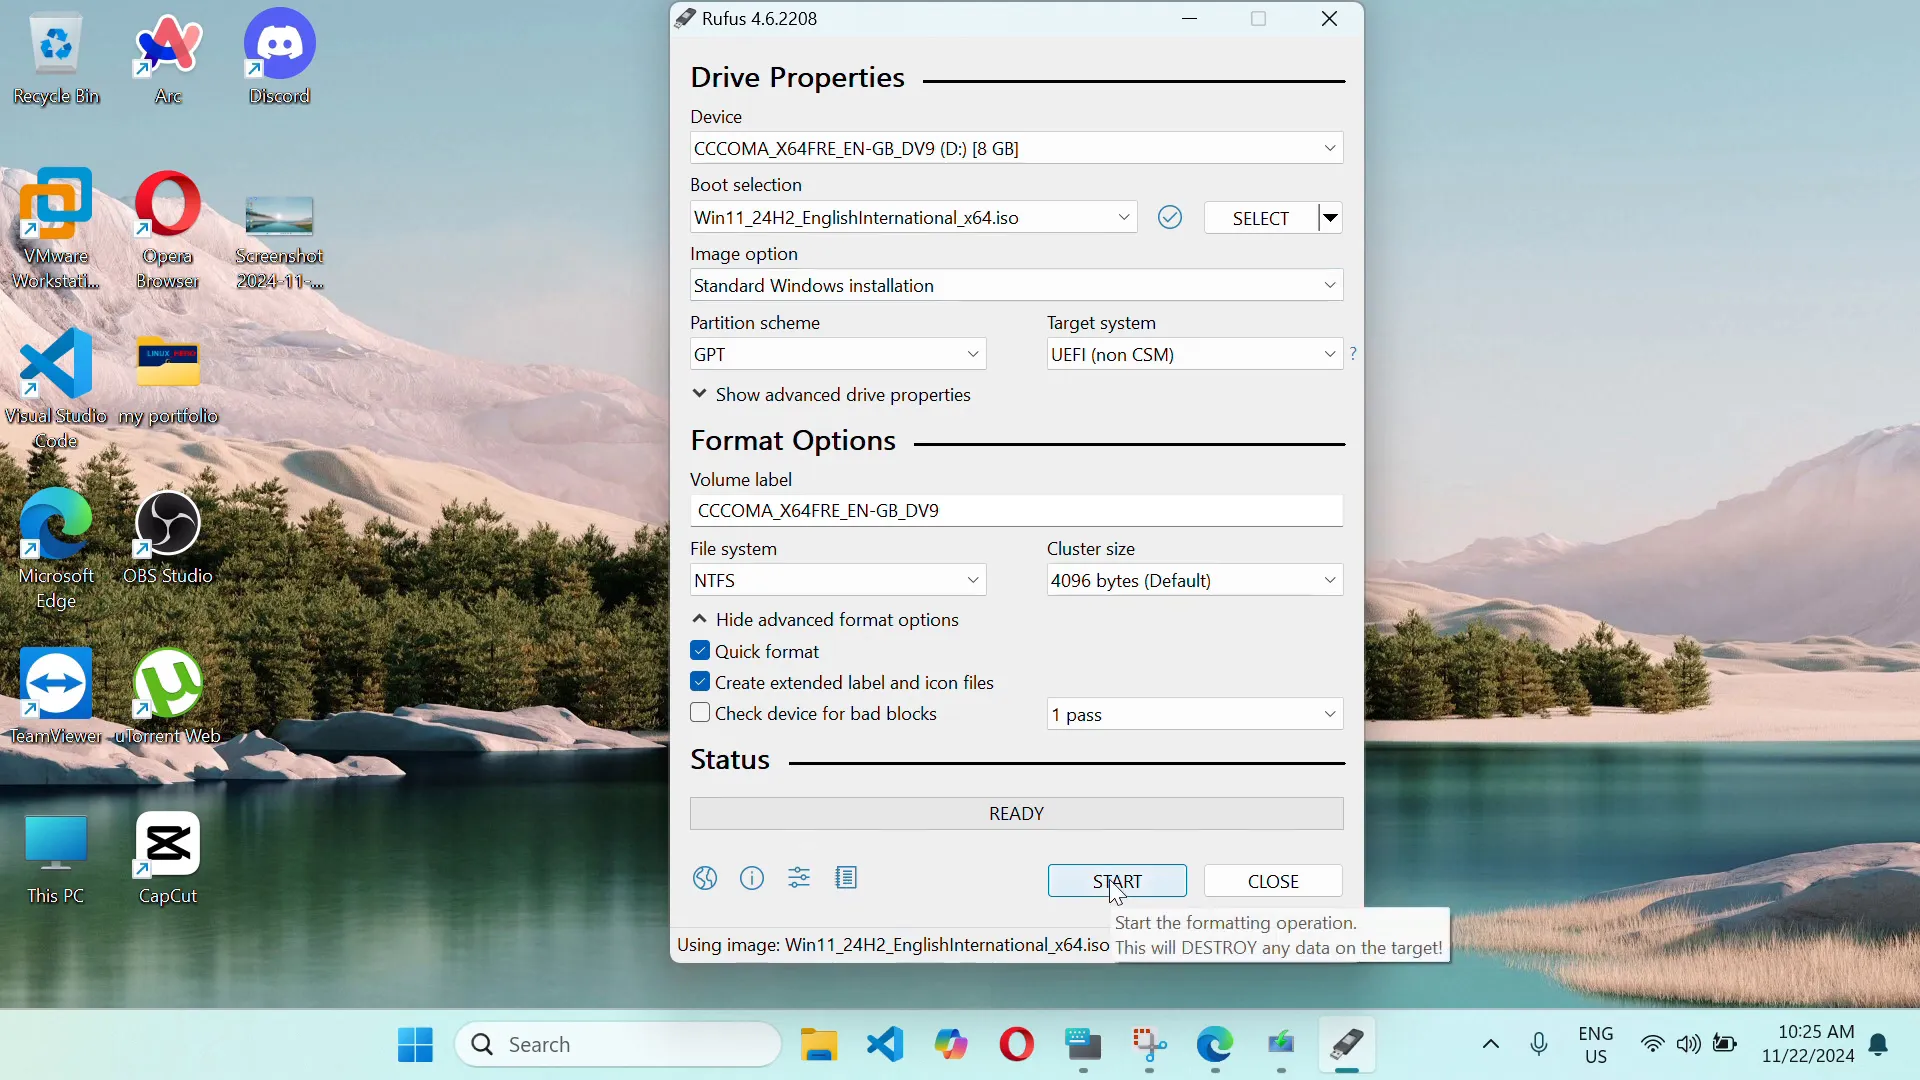
The tool will now download Windows files and create the bootable USB:
- This process may take some time, depending on your internet speed.
- Once completed, you will see a message saying your USB drive is ready.
Step 7: Booting from the USB Drive
To install Windows using your bootable USB, follow these steps:
- Insert the USB drive into the computer you want to install Windows on.
- Restart the computer and enter the BIOS/UEFI settings (usually by pressing F2, F12, Del, or Esc during startup).
- Set the USB drive as the primary boot device.
- Save changes and exit the BIOS.
Once the computer boots from the USB drive, follow the on-screen instructions to install Windows.
Troubleshooting Common Issues
Here are some common issues you might encounter and how to resolve them:
- USB not detected: Ensure the USB drive is properly connected and try different USB ports.
- Installation fails: Make sure the USB drive is formatted correctly and contains the necessary files.
- Boot order issues: Double-check the boot priority settings in the BIOS.
Conclusion
Creating a Windows 10/11 bootable USB pendrive is a straightforward process that can save you time and hassle when installing or repairing your operating system. By following the steps outlined in this guide, you’ll be well on your way to having a reliable tool at your disposal. If you found this guide helpful, consider checking out more resources on our website, such as our installation and setup guides, for further information.
For additional tips and tricks on using your Windows system, explore our troubleshooting section. Happy computing!
Fair Use Disclaimer:
The content is used under the doctrine of fair use for informational, educational, and commentary purposes. All rights to the original video belong to the respective creator. The inclusion of this material does not imply ownership or affiliation with the original creator.
Watch the original video here: https://youtu.be/e2JETxgvxHg
What's Your Reaction?


