How to Install Windows 10
Learn how to install Windows 10 with our step-by-step guide. From creating a bootable USB to configuring settings, get your Windows 10 system up and running smoothly.
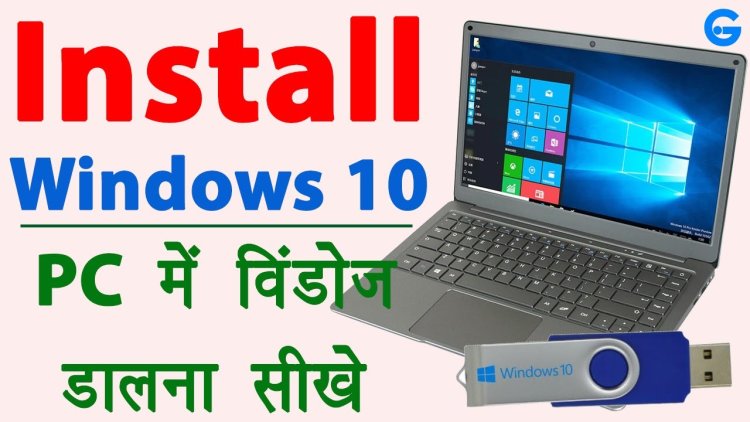
How to Install Windows on Your Laptop: A Step-by-Step Guide
If you're looking to install Windows on your laptop, you've come to the right place! In this guide, we will walk you through the entire process, from creating a bootable USB drive to activating your Windows installation. Let's dive in!
Creating a Bootable USB Drive
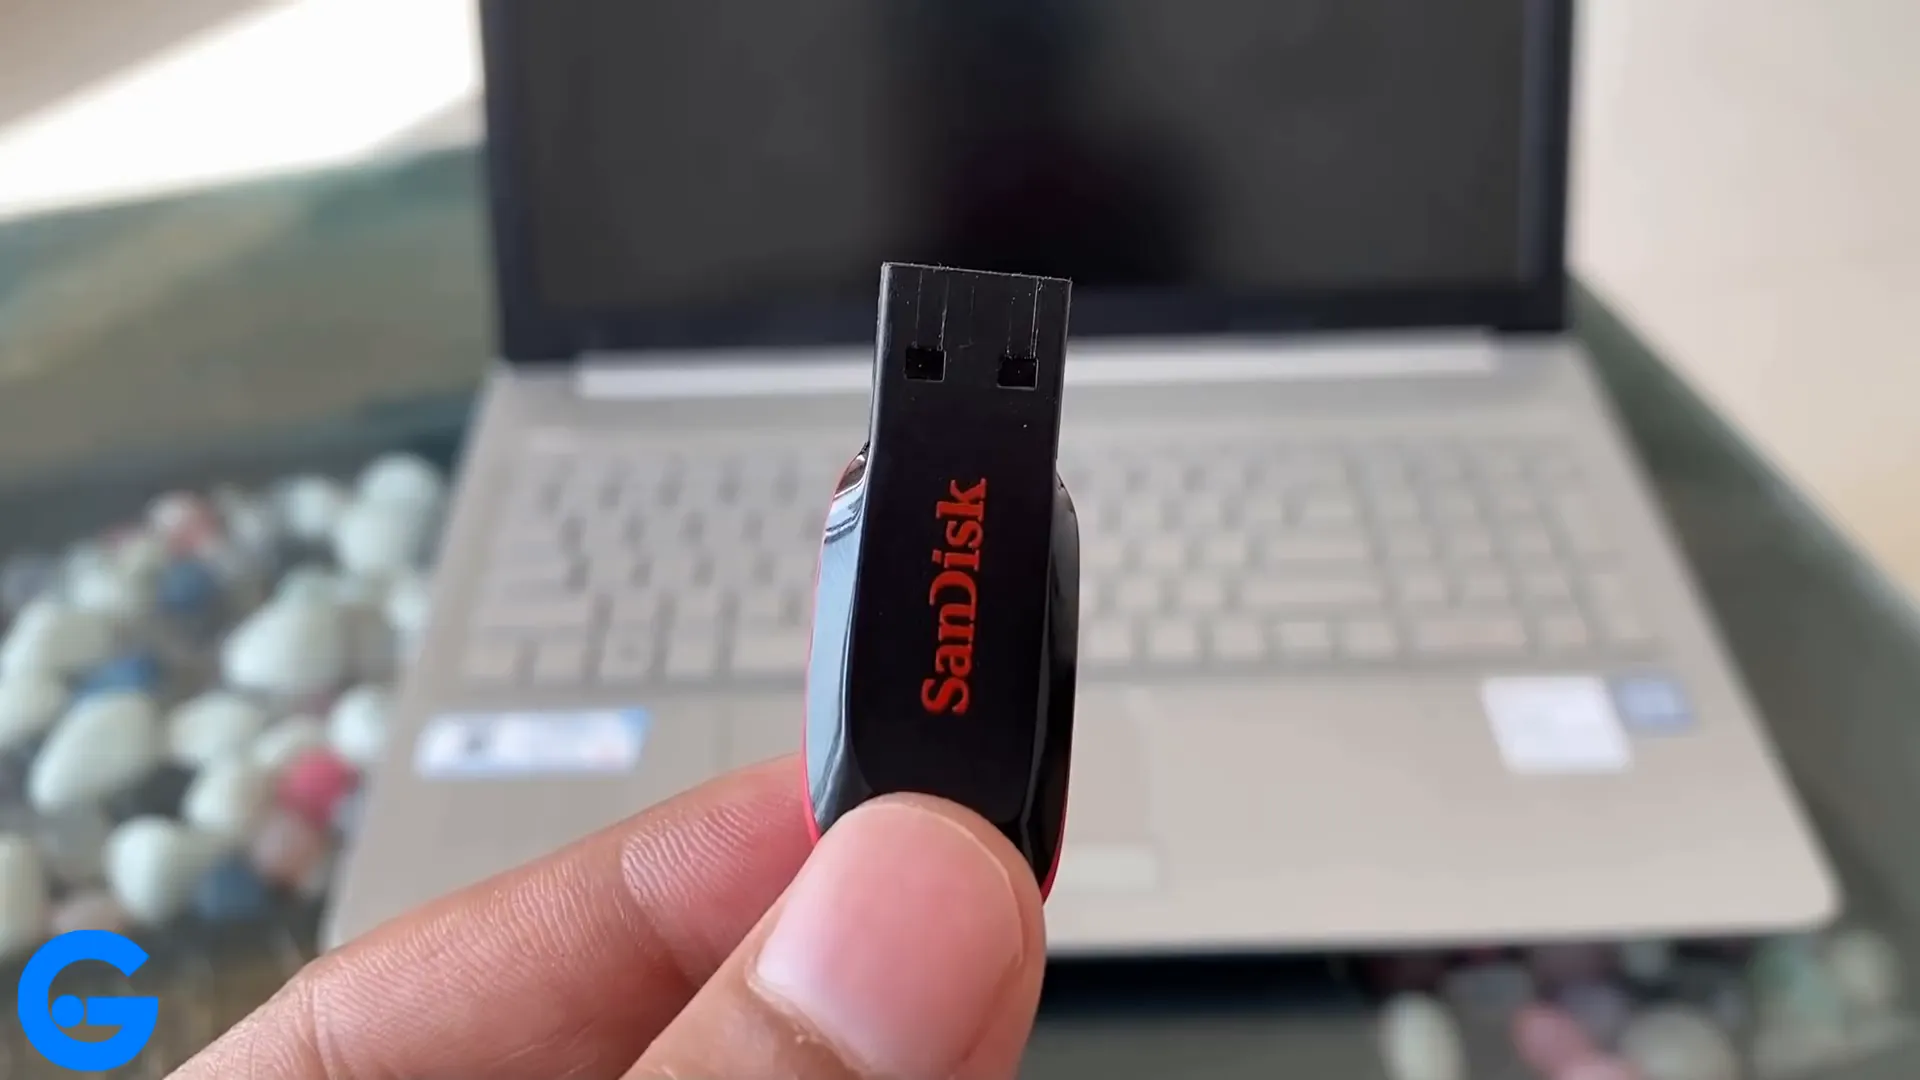
The first step in installing Windows is creating a bootable USB drive. This is essential for transferring the Windows installation files to your laptop. If you need help with this step, check out the detailed process in our previous video linked in the description.
Booting from the USB Drive
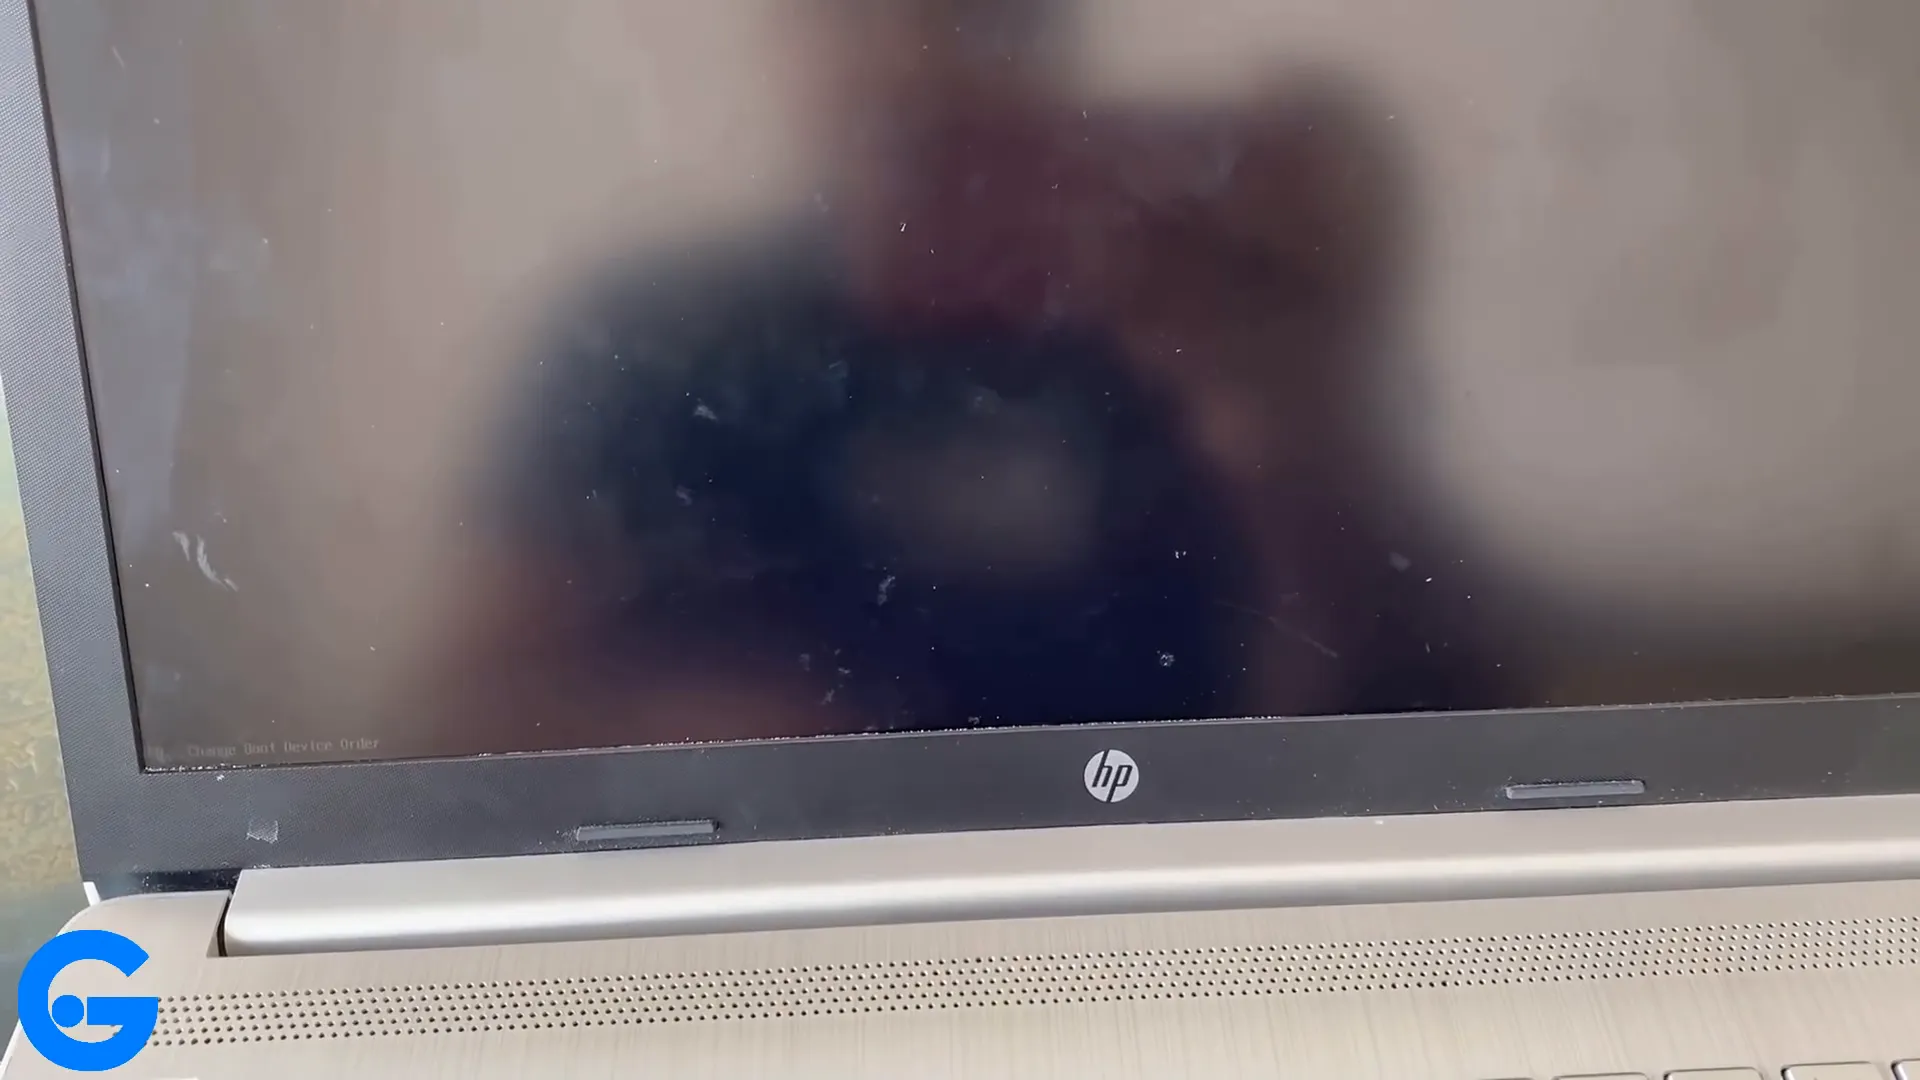
Once you have your bootable USB drive ready, connect it to the laptop where you want to install Windows. Next, power on the laptop and press the appropriate key to access the boot menu. This key varies by manufacturer:
- For HP laptops, press F9.
- For Dell laptops, press F12.
If you're using a different brand, you can search online for the specific key for your laptop model.
Selecting the USB Drive
After powering on and pressing the boot key, you should see the boot manager screen. Here, select the USB hard drive option using the arrow keys and press Enter. This will direct your laptop to boot from the USB drive.
Installing Windows
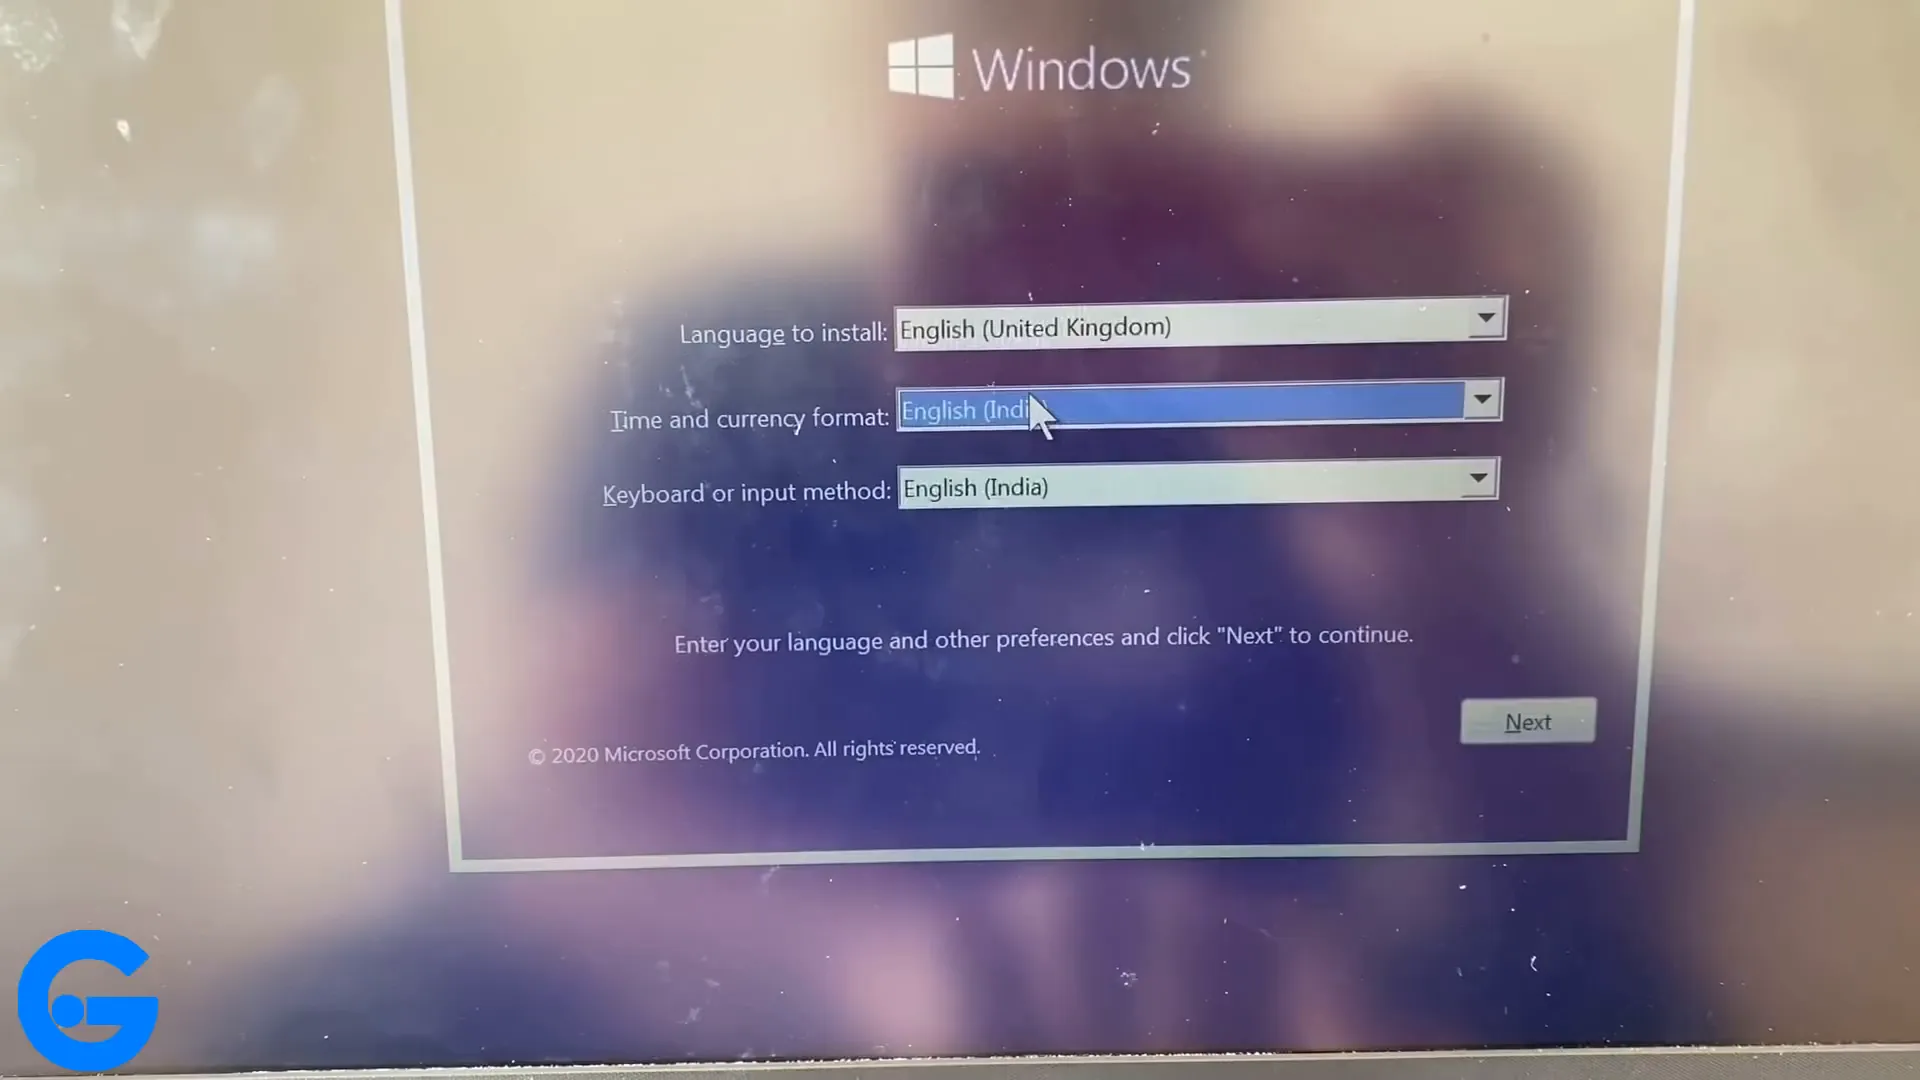
Now that your laptop is booting from the USB drive, you will see the Windows installation screen. Follow these steps:
- Choose your language for the installation.
- Select the time and currency format (e.g., English (India)).
- Set your keyboard layout (also English (India)) and click Next.
Starting the Installation
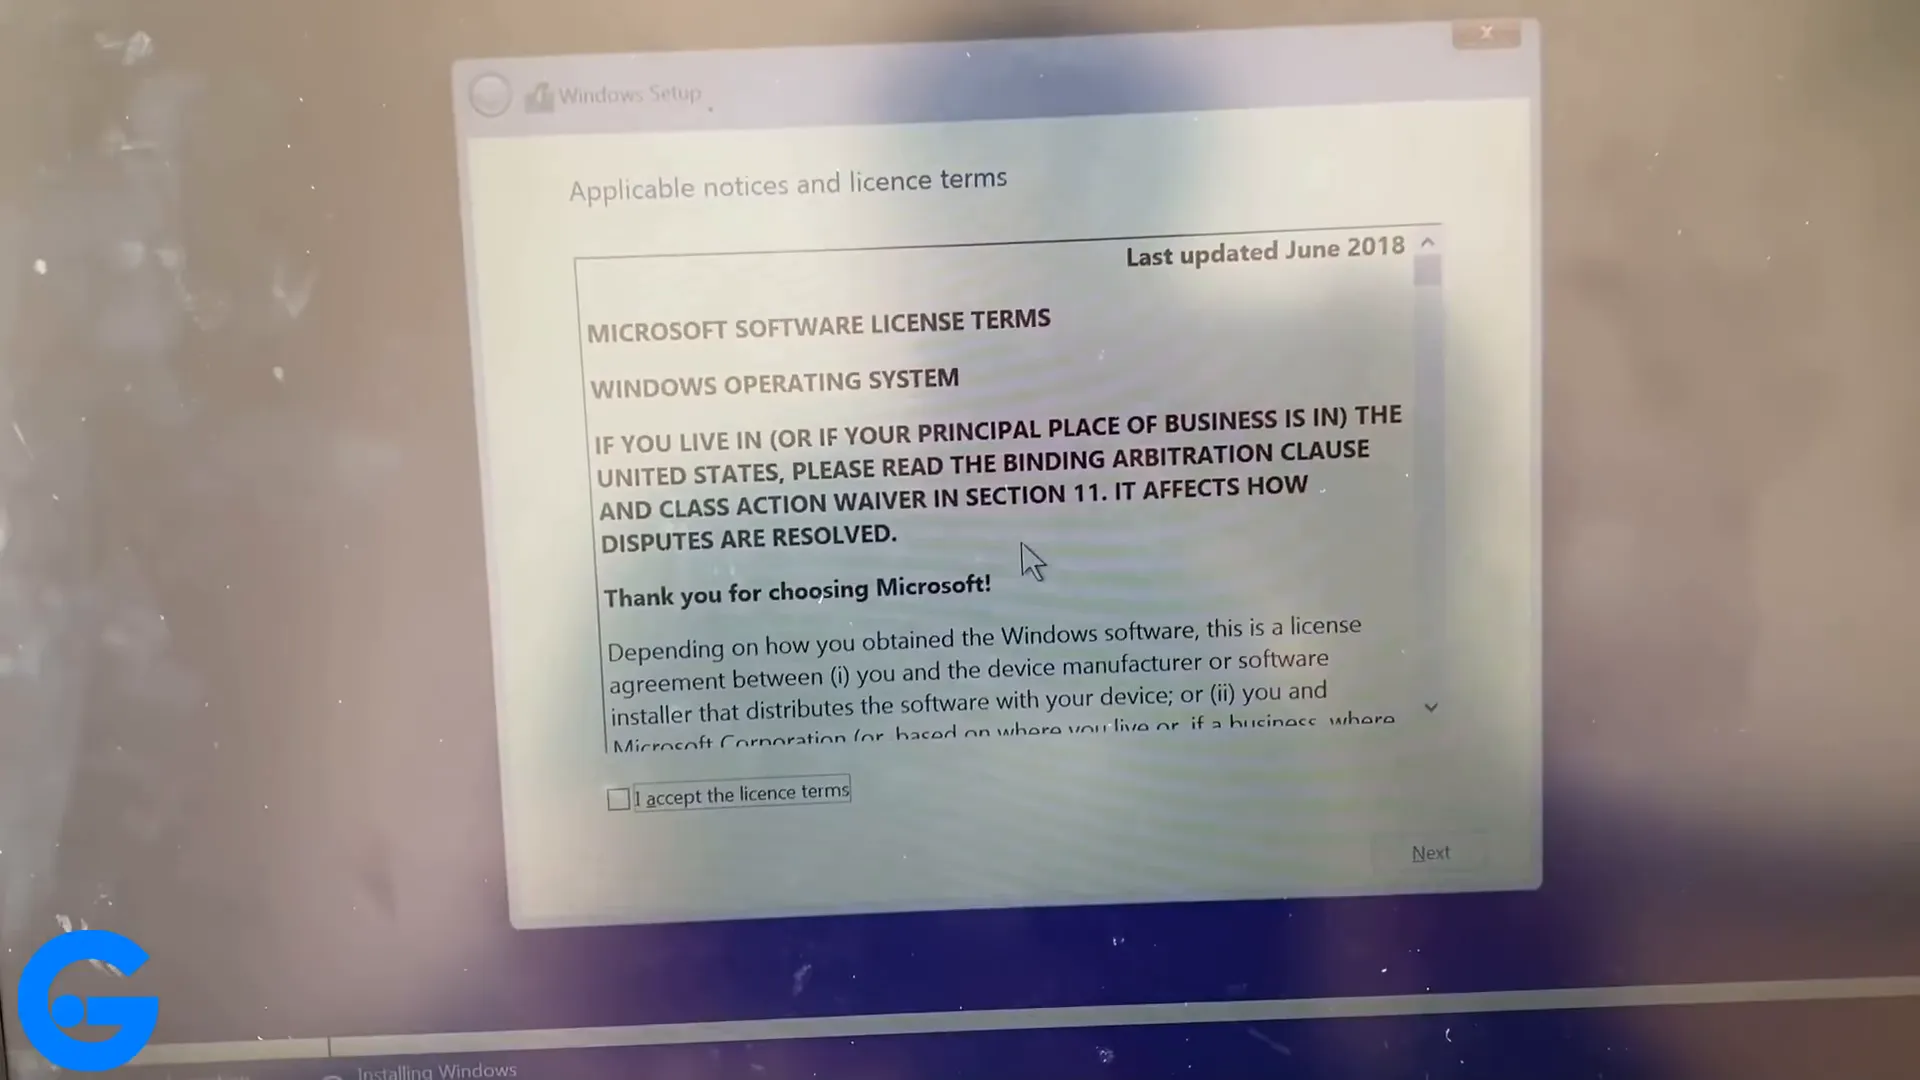
Click on the Install Now button. You will be prompted to accept the Windows license agreement. After accepting, click Next.
Choosing the Installation Type
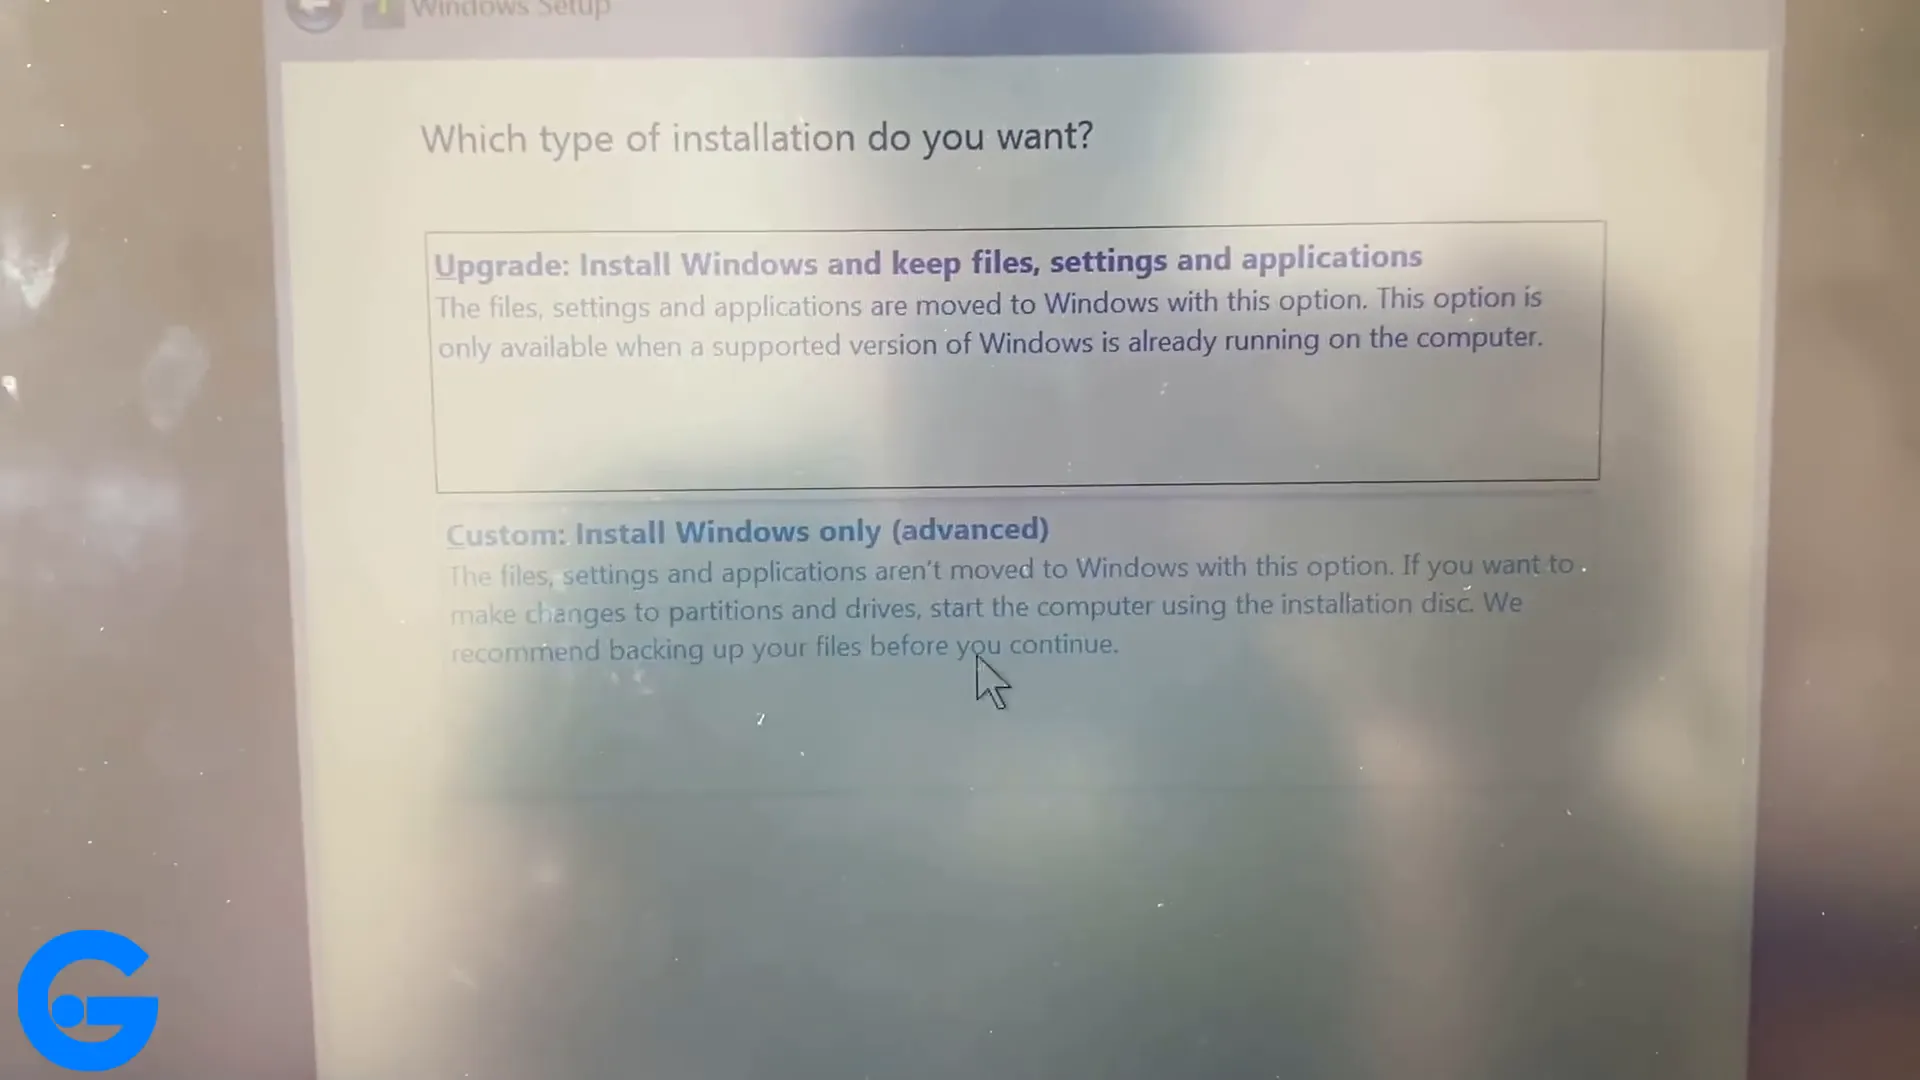
You will see two options now:
- If you're upgrading an existing Windows installation, choose the first option.
- If you're performing a fresh installation, select the Custom Install option.
Partitioning Your Hard Drive
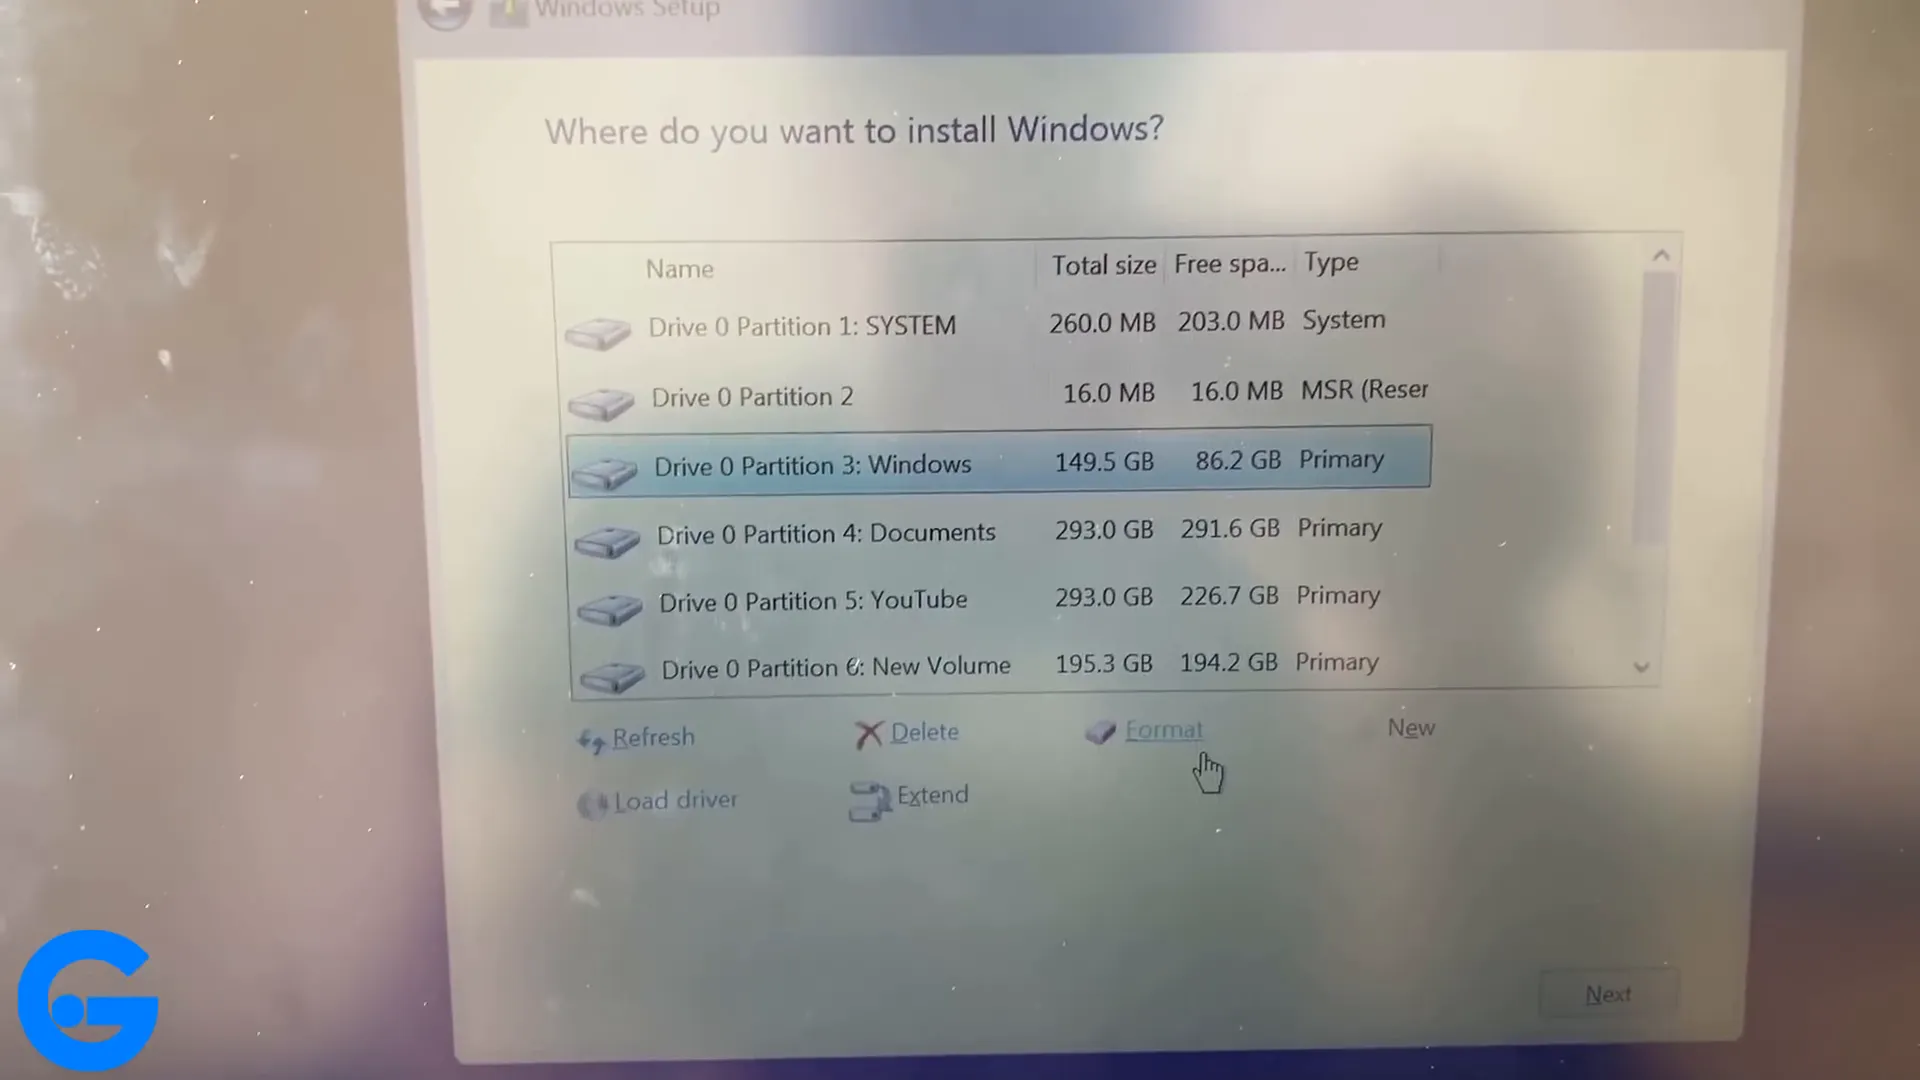
In this step, you'll see the partitions on your hard drive. You can:
- Delete existing partitions.
- Create new partitions.
- Format existing partitions.
Make sure to choose the partition where you want to install Windows and click Next. The selected partition will be formatted before installation begins.
Waiting for Installation to Complete
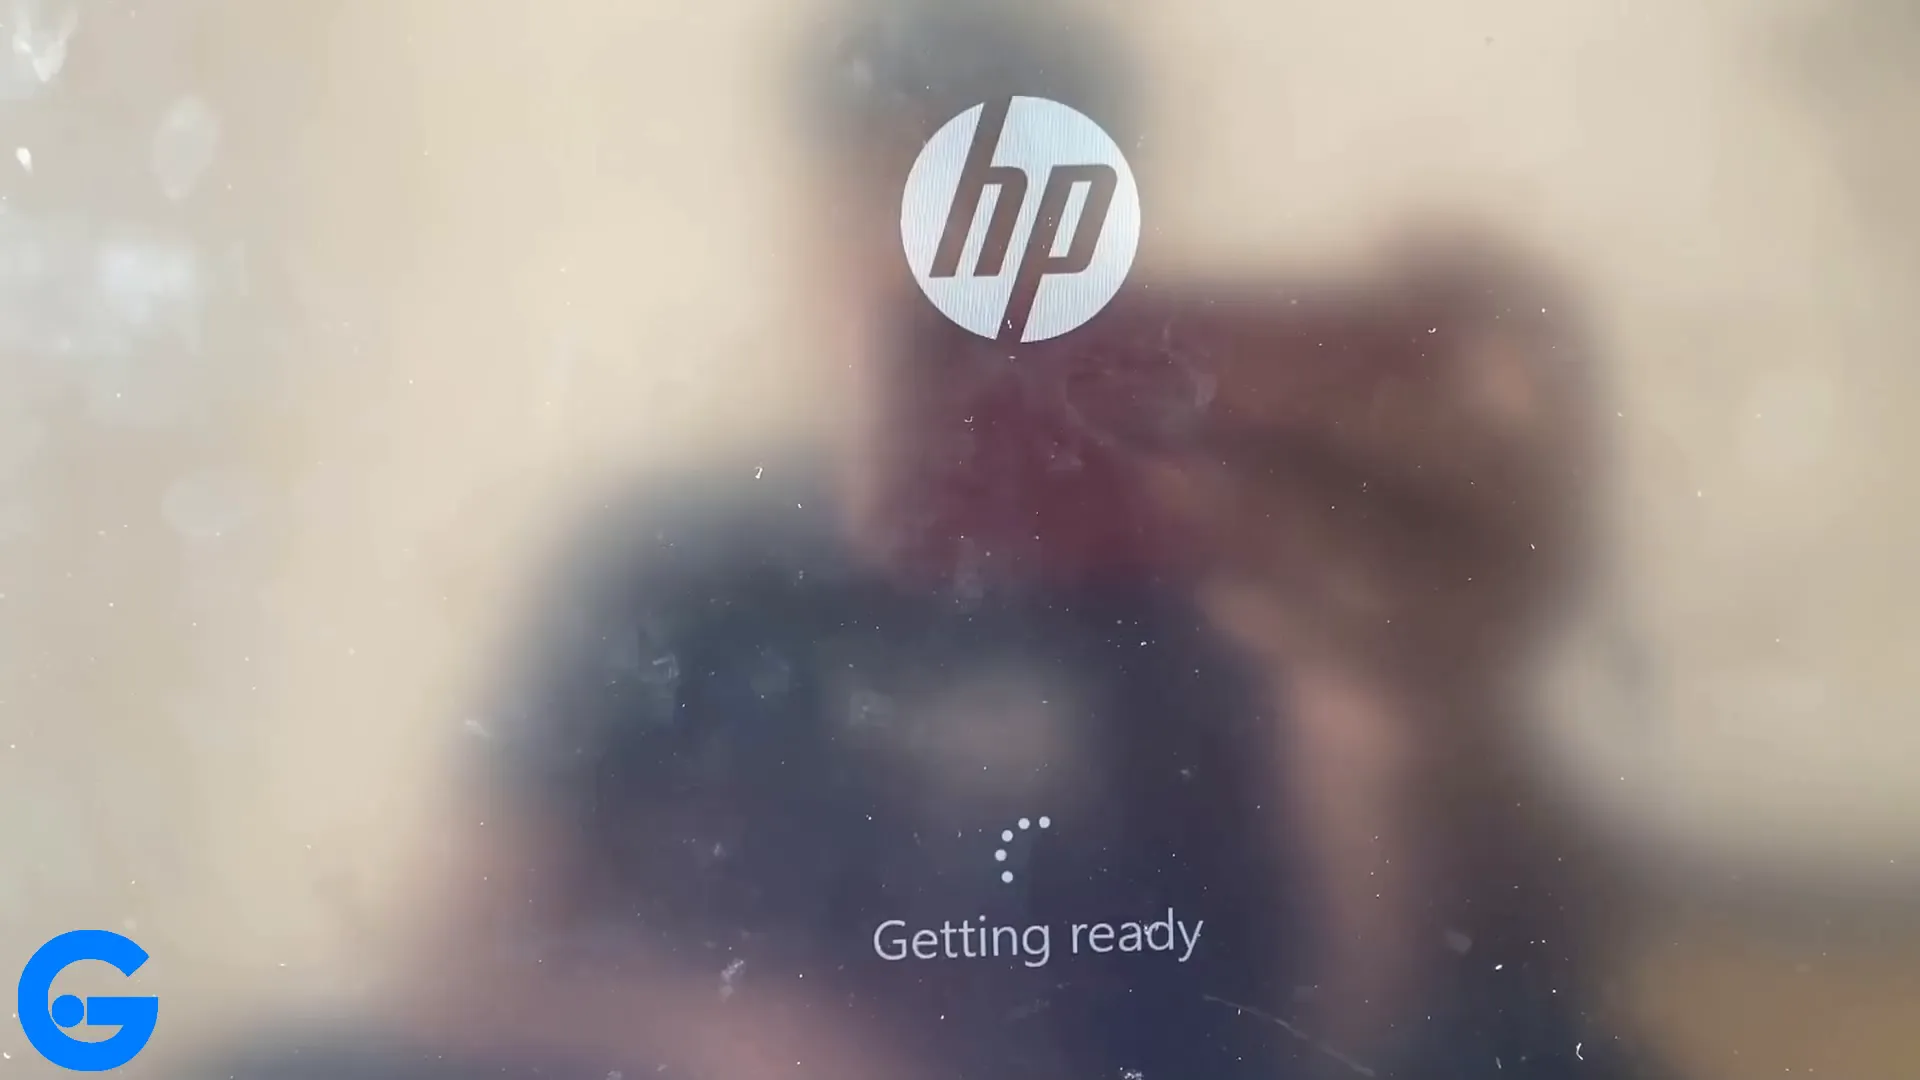
The installation process will take some time, typically between 5 to 10 minutes. Your system may restart during this period, and you can disconnect the USB drive once the installation progresses to the next step.
Finalizing Your Setup
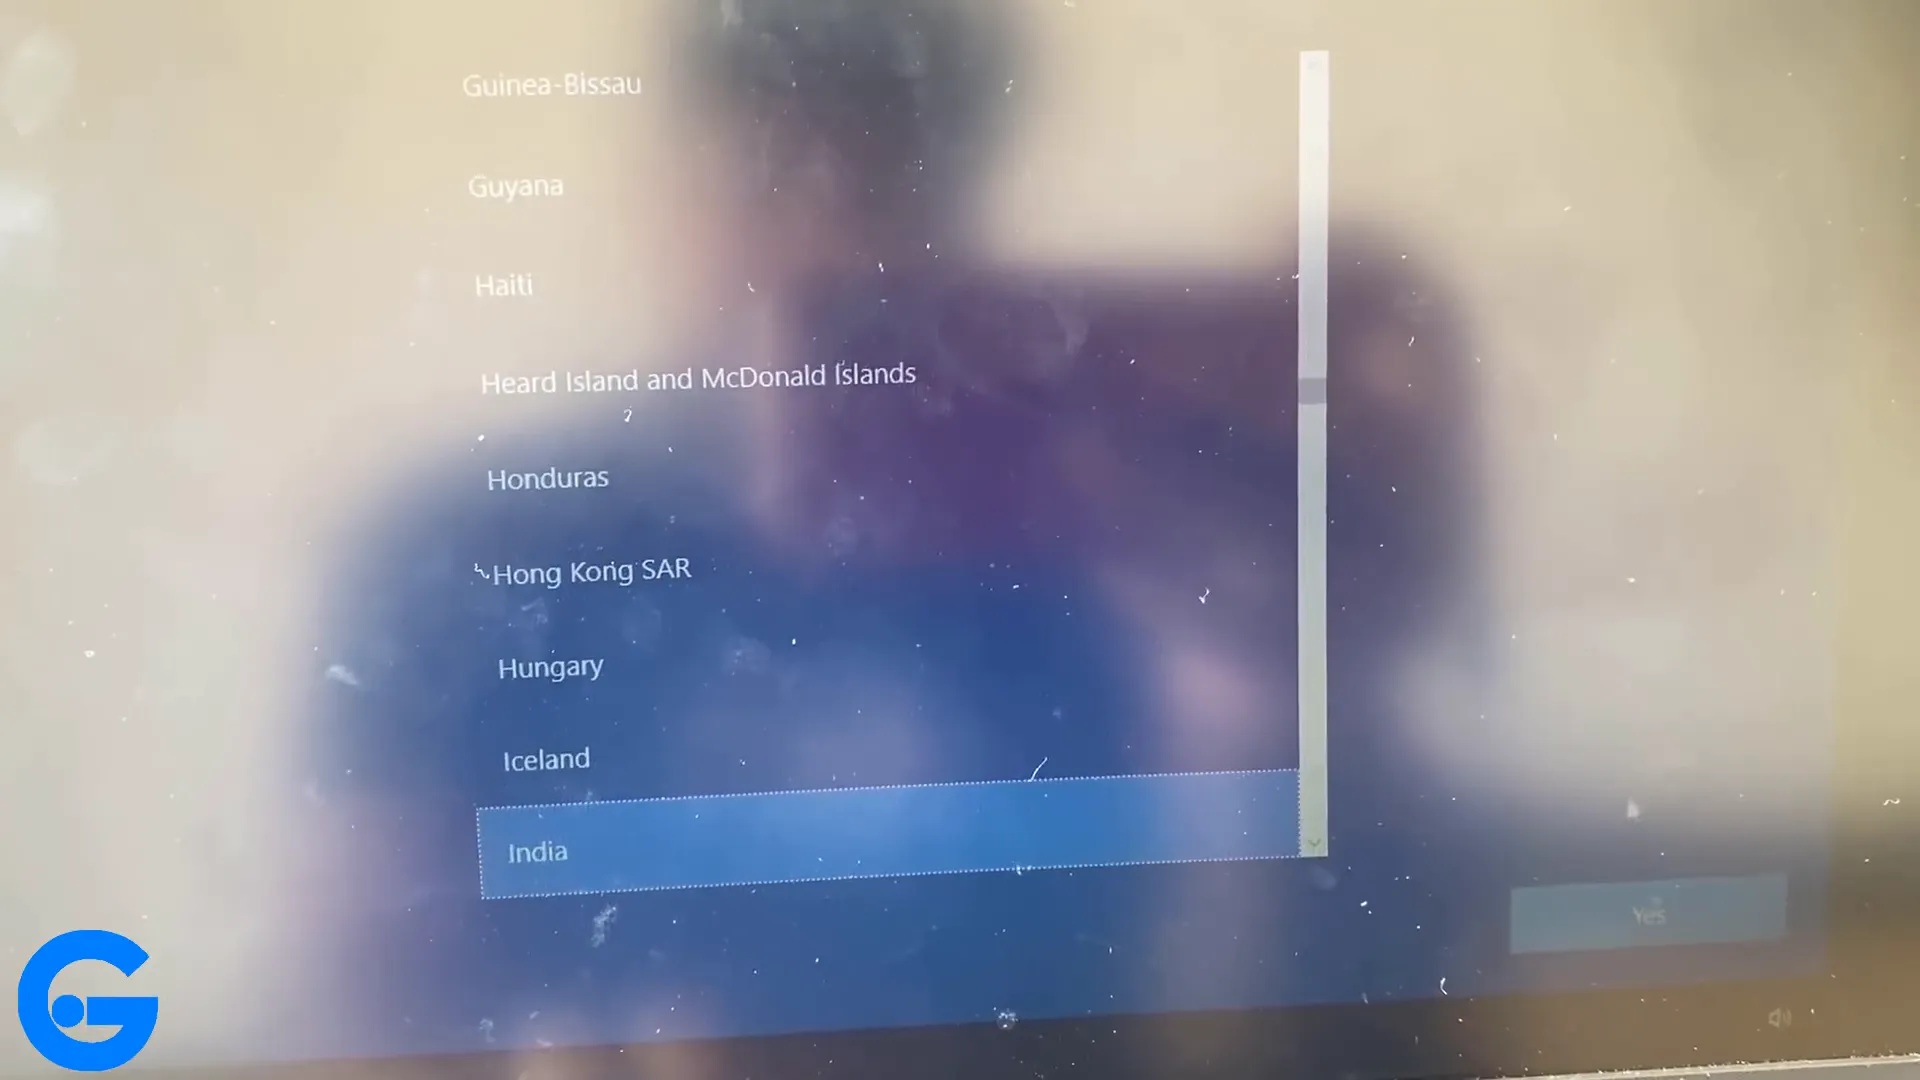
After the installation completes, your laptop will restart again. This time, it will guide you through the initial setup process:
- Select your region (e.g., India).
- Choose your keyboard layout.
- Sign in with a Microsoft account or choose to continue without one.
Creating a User Account
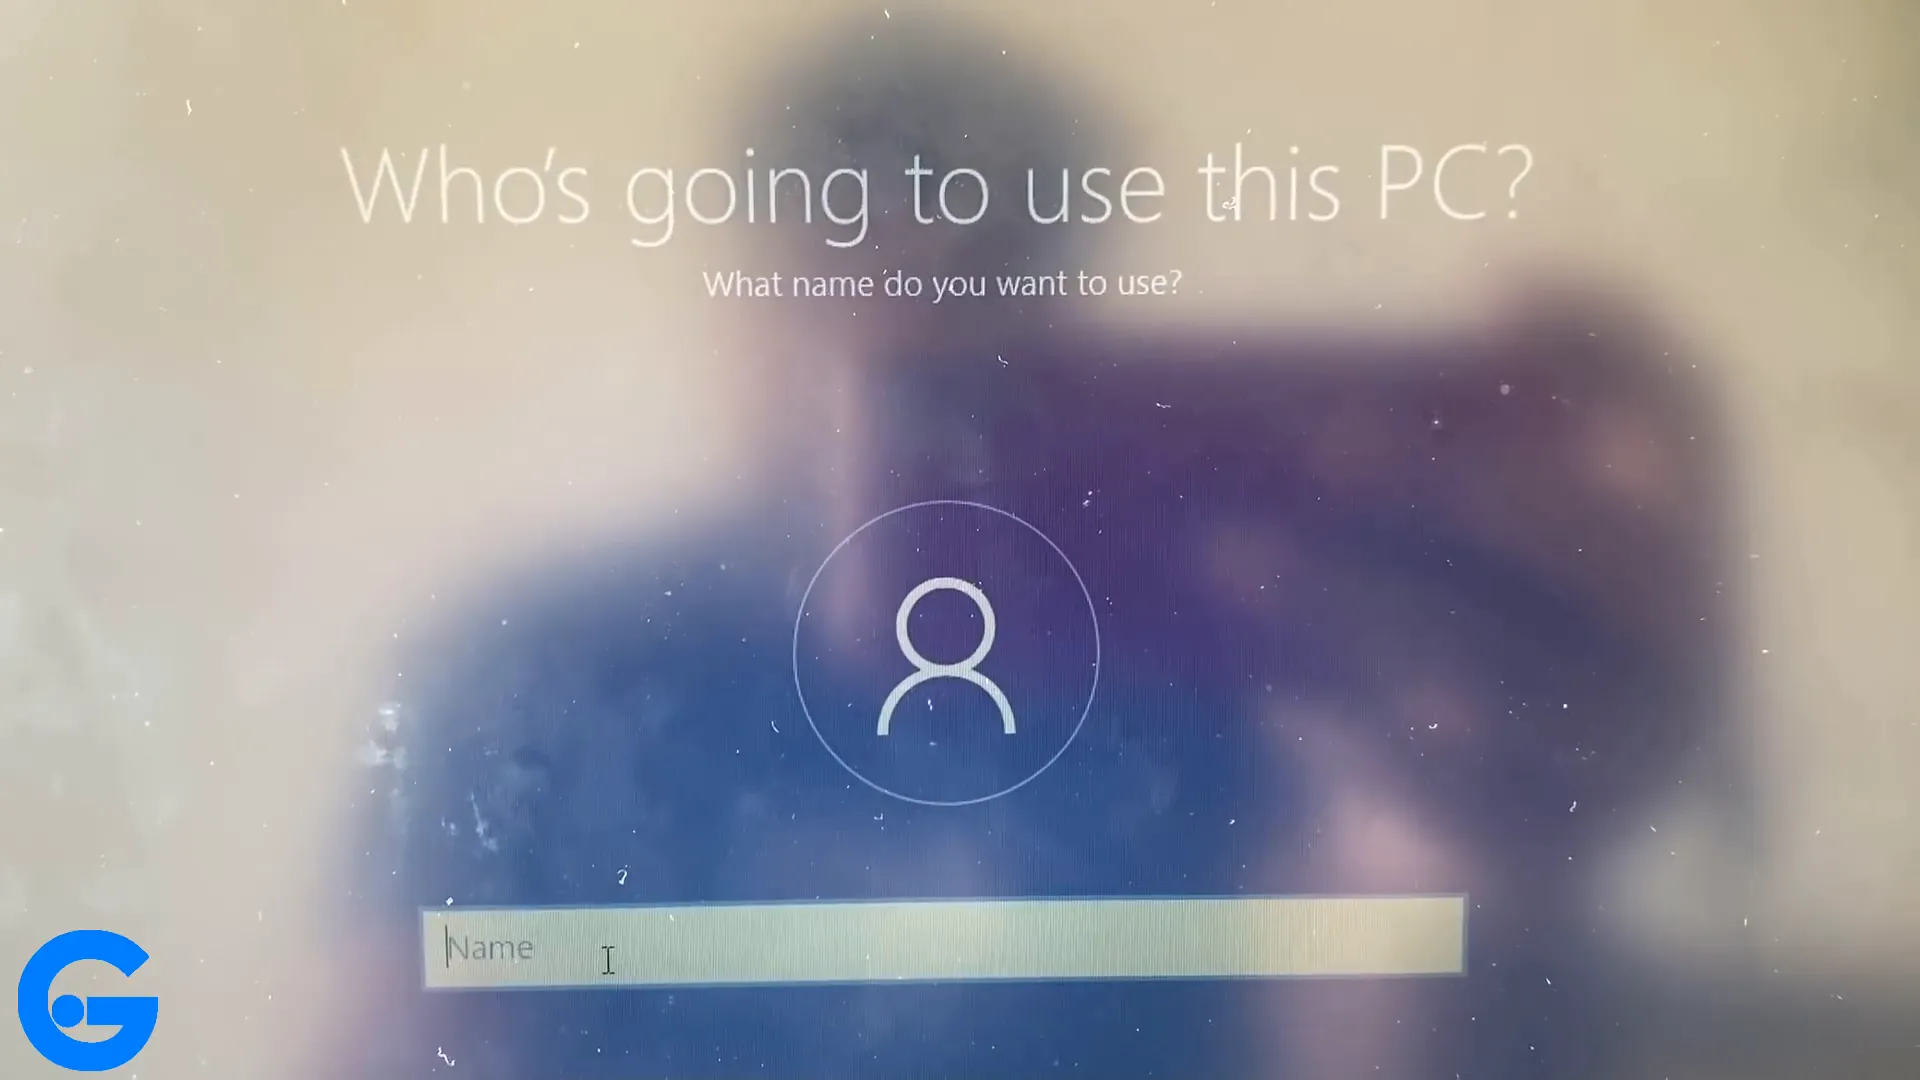
Next, you will set up your user account. Enter a name for your PC and create a password. Make sure to remember your password and choose security questions in case you forget it.
Privacy Settings
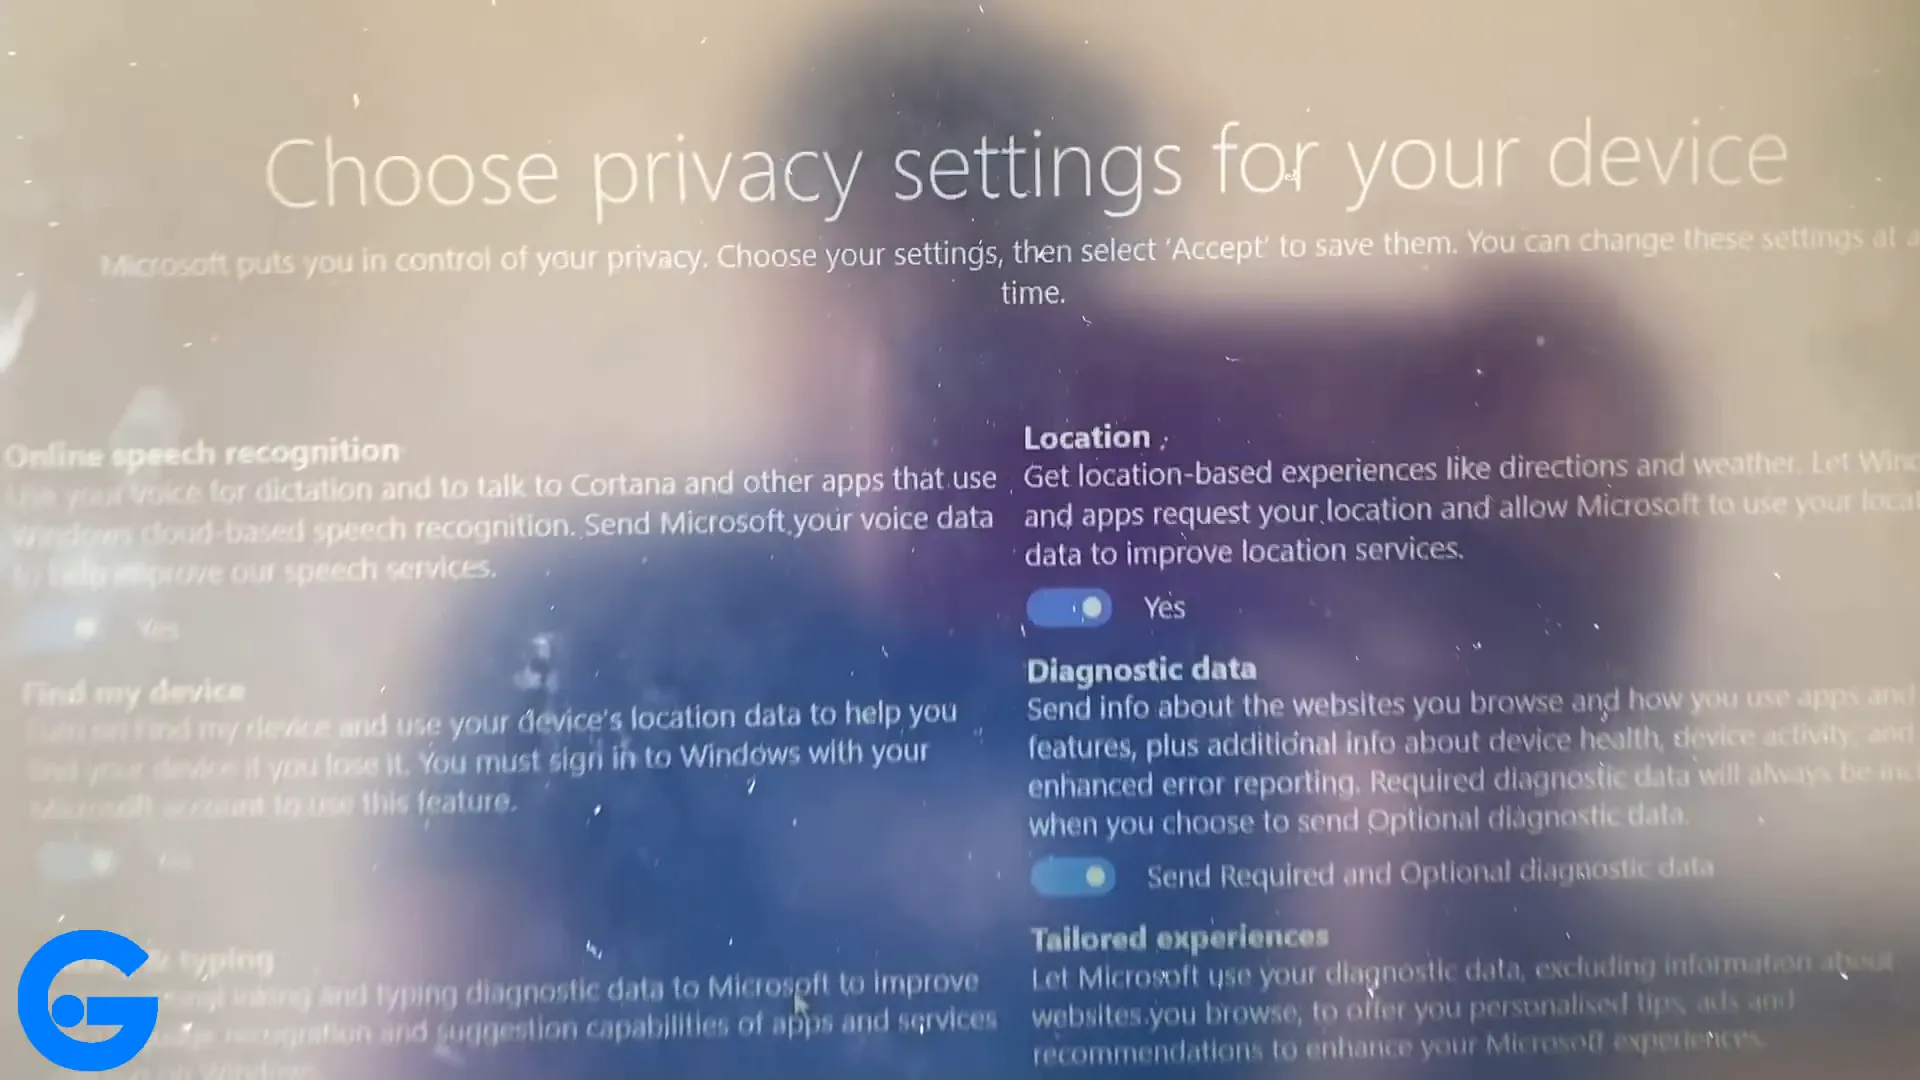
You will then see privacy settings. You can customize these according to your preferences. Once done, click Accept.
Activating Windows
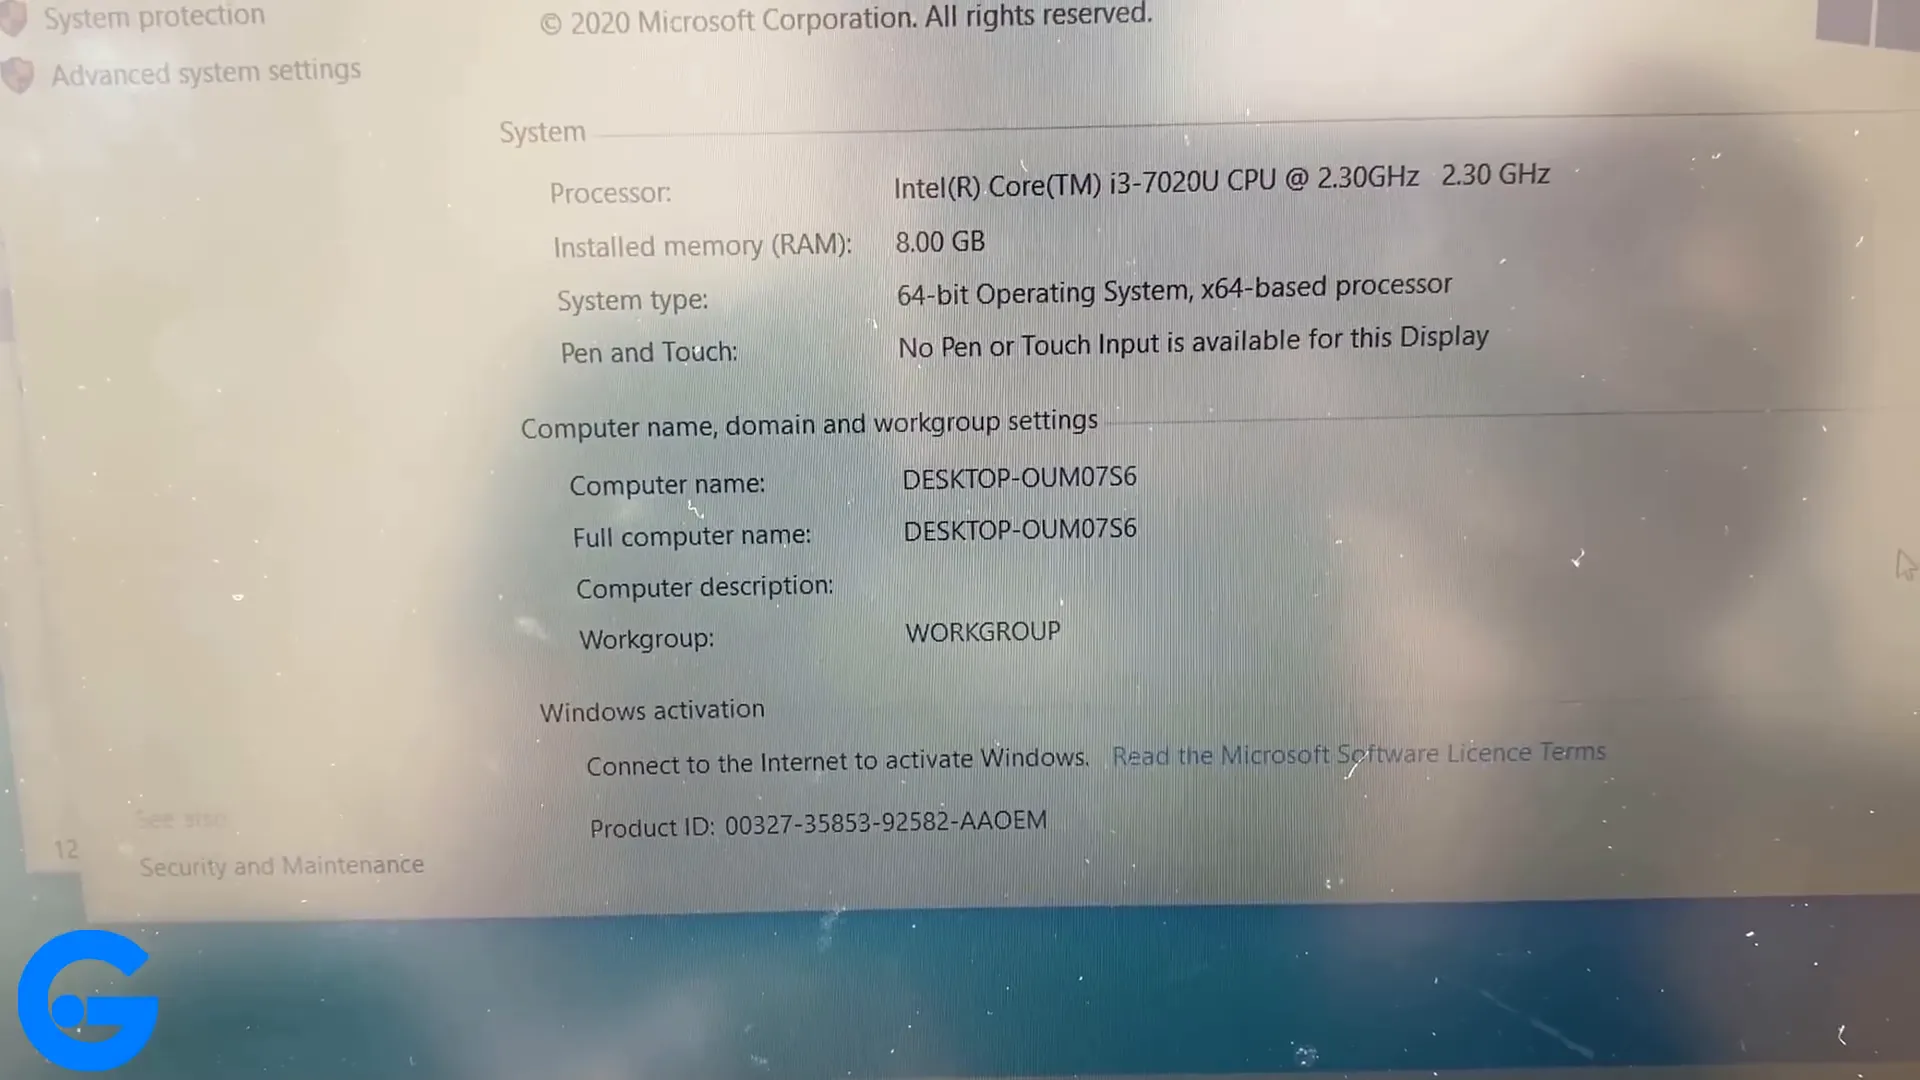
After completing the setup, you might notice that Windows isn't activated. To activate it, you will need a valid product key. You can purchase one from the official Microsoft website or find activation codes through various sources.
Using Activation Codes
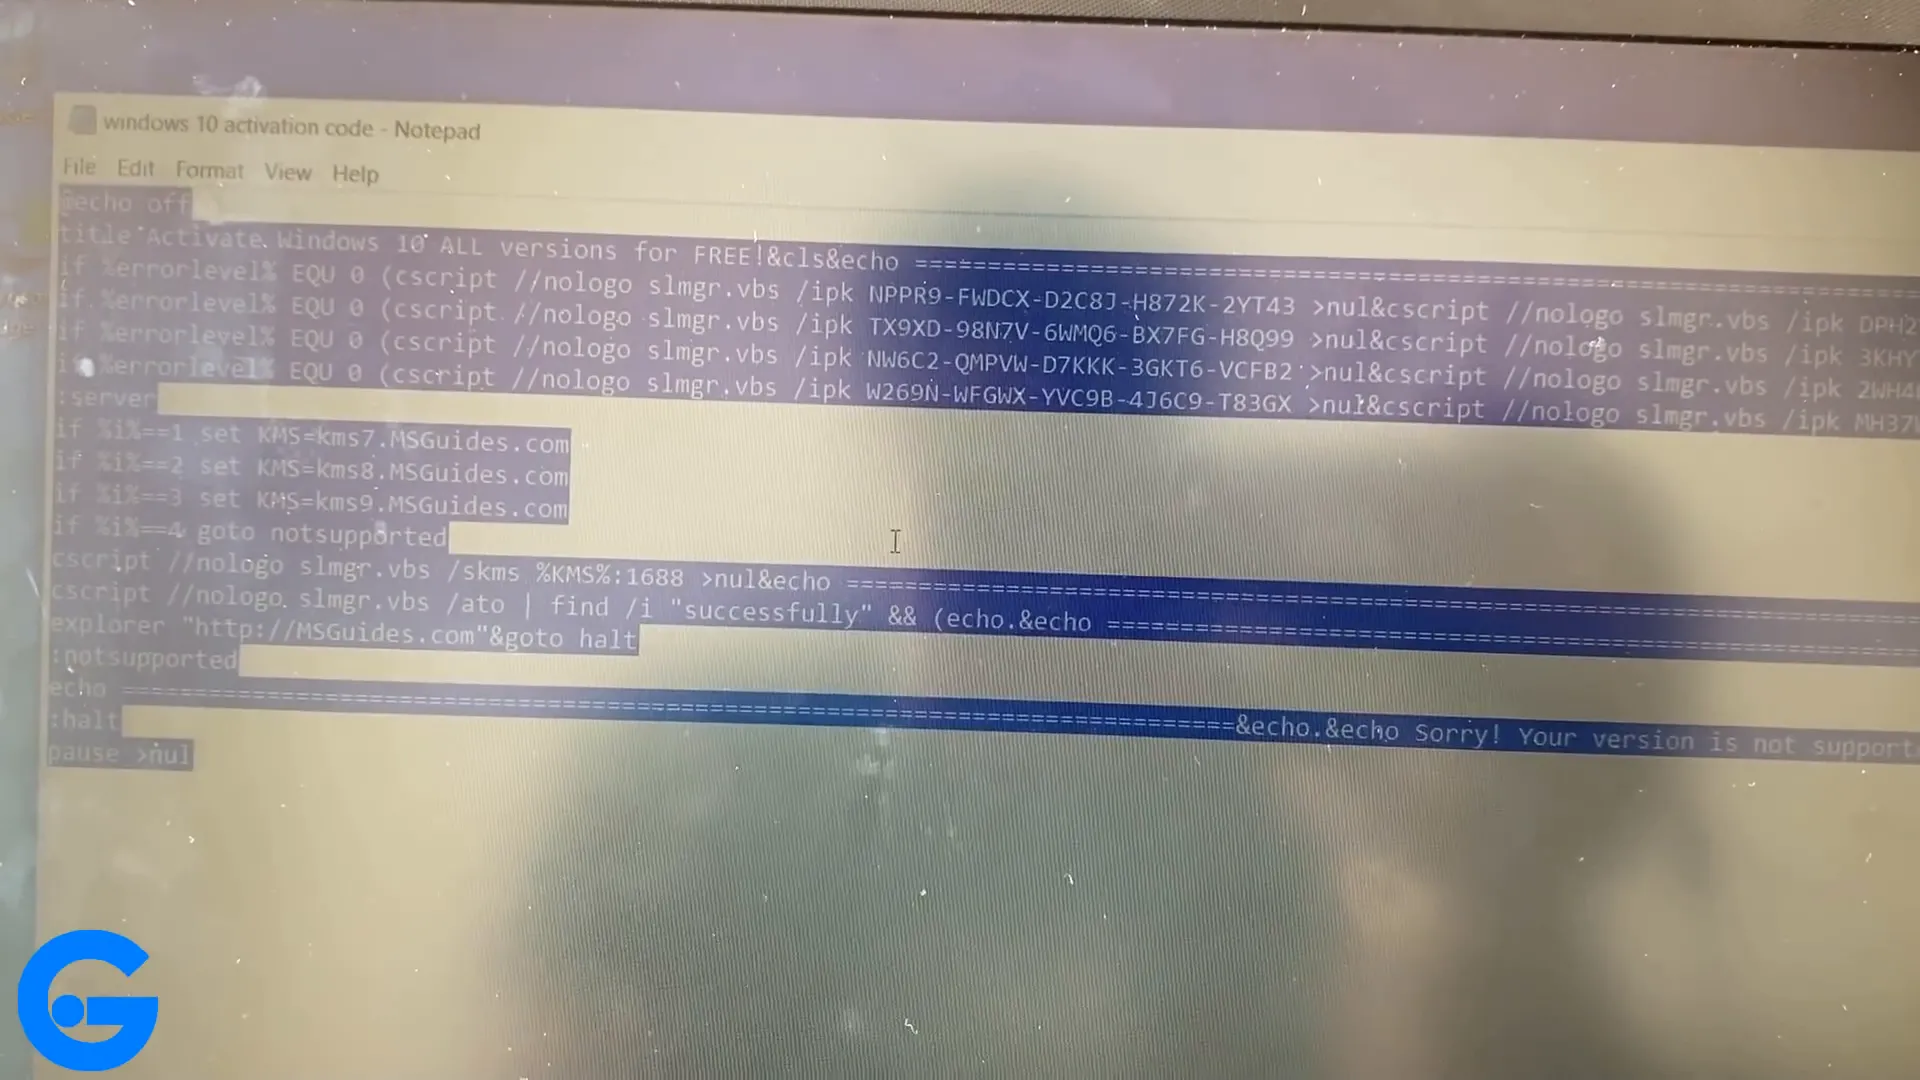
If you have an activation code, you can enter it in the activation settings. This will activate your Windows installation. Make sure your laptop is connected to the internet during this process.
Conclusion
Congratulations! You've successfully installed Windows on your laptop. Now you can start customizing your settings and installing applications as needed. If you need further assistance, feel free to comment below or check our resources for additional help.
For more detailed guides on installing different versions of Windows, visit:
Fair Use Disclaimer:
The content is used under the doctrine of fair use for informational, educational, and commentary purposes. All rights to the original video belong to the respective creator. The inclusion of this material does not imply ownership or affiliation with the original creator.
Watch the original video here: https://youtu.be/ymAnduN-_2E
What's Your Reaction?


