how to install windows 11 on unsupported pc
Learn how to install Windows 11 on an unsupported PC with our step-by-step guide. Bypass system requirements and enjoy the latest features of Windows 11 on older hardware.
How to Install Windows 11 on Unsupported PCs Without Data Loss
In this blog post, we'll explore a detailed guide on how to install Windows 11 on unsupported PCs and laptops without losing any data. This process involves bypassing certain system requirements like TPM, secure boot, and processor compatibility. Let's dive into the steps and make this installation smooth!
Understanding the Installation Requirements
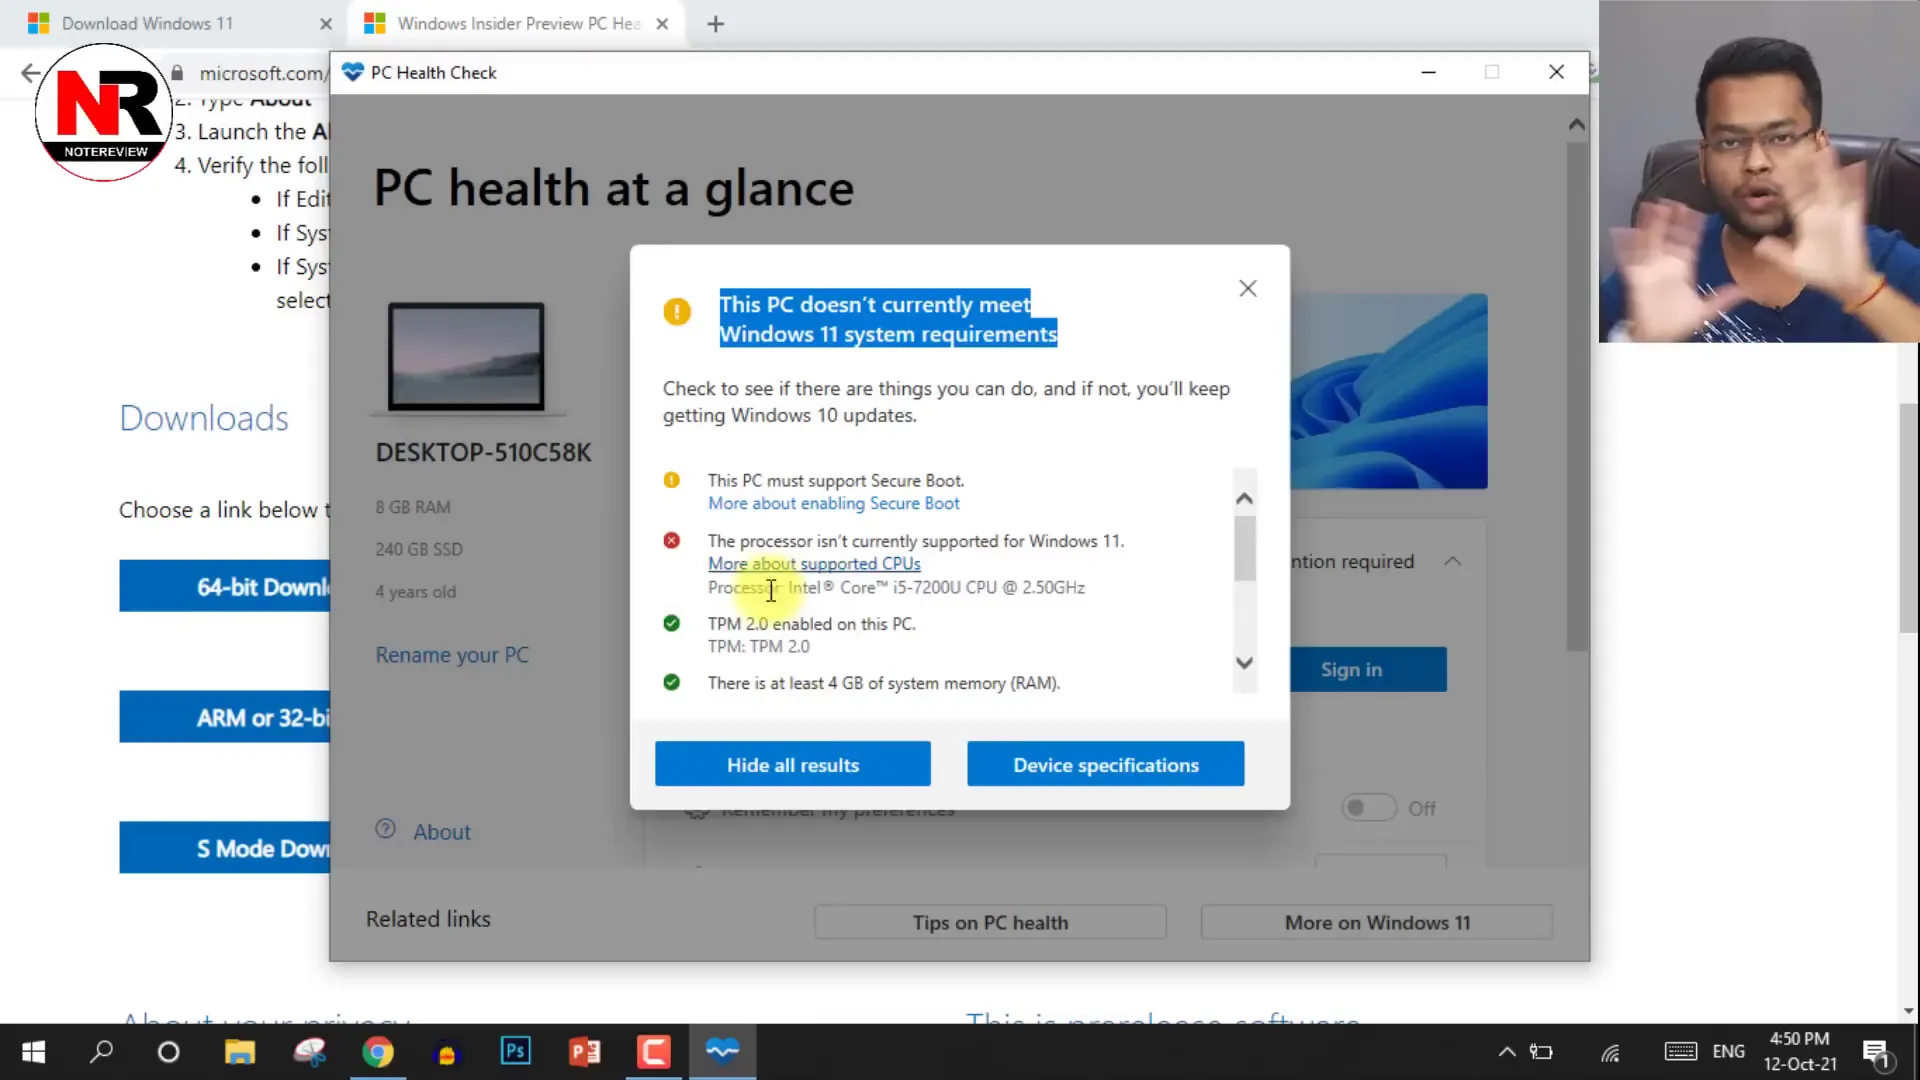
Before we begin, it's crucial to understand that Windows 11 has specific requirements that many older PCs do not meet. For example, secure boot may not be enabled, and some processors are not supported. However, if you are willing to bypass these restrictions, you can successfully install Windows 11 on your device.
Preparing Your System
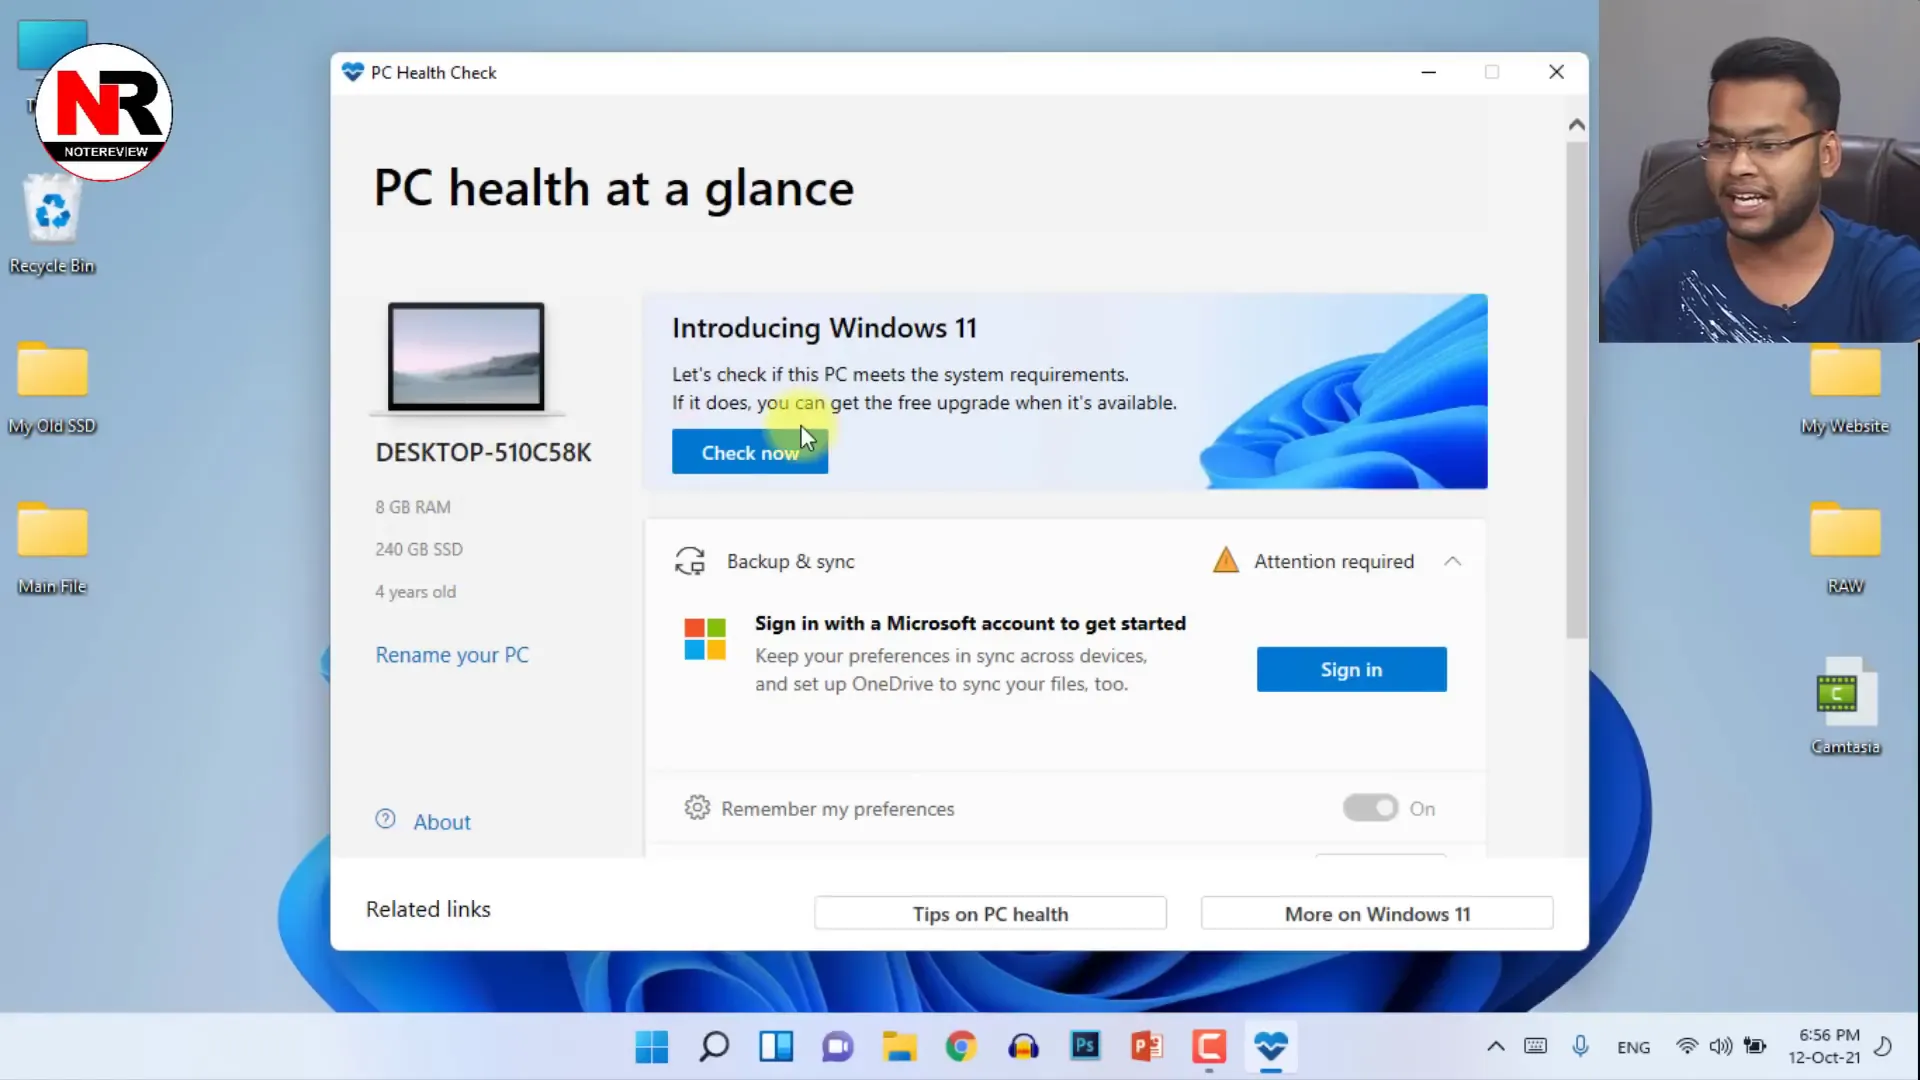
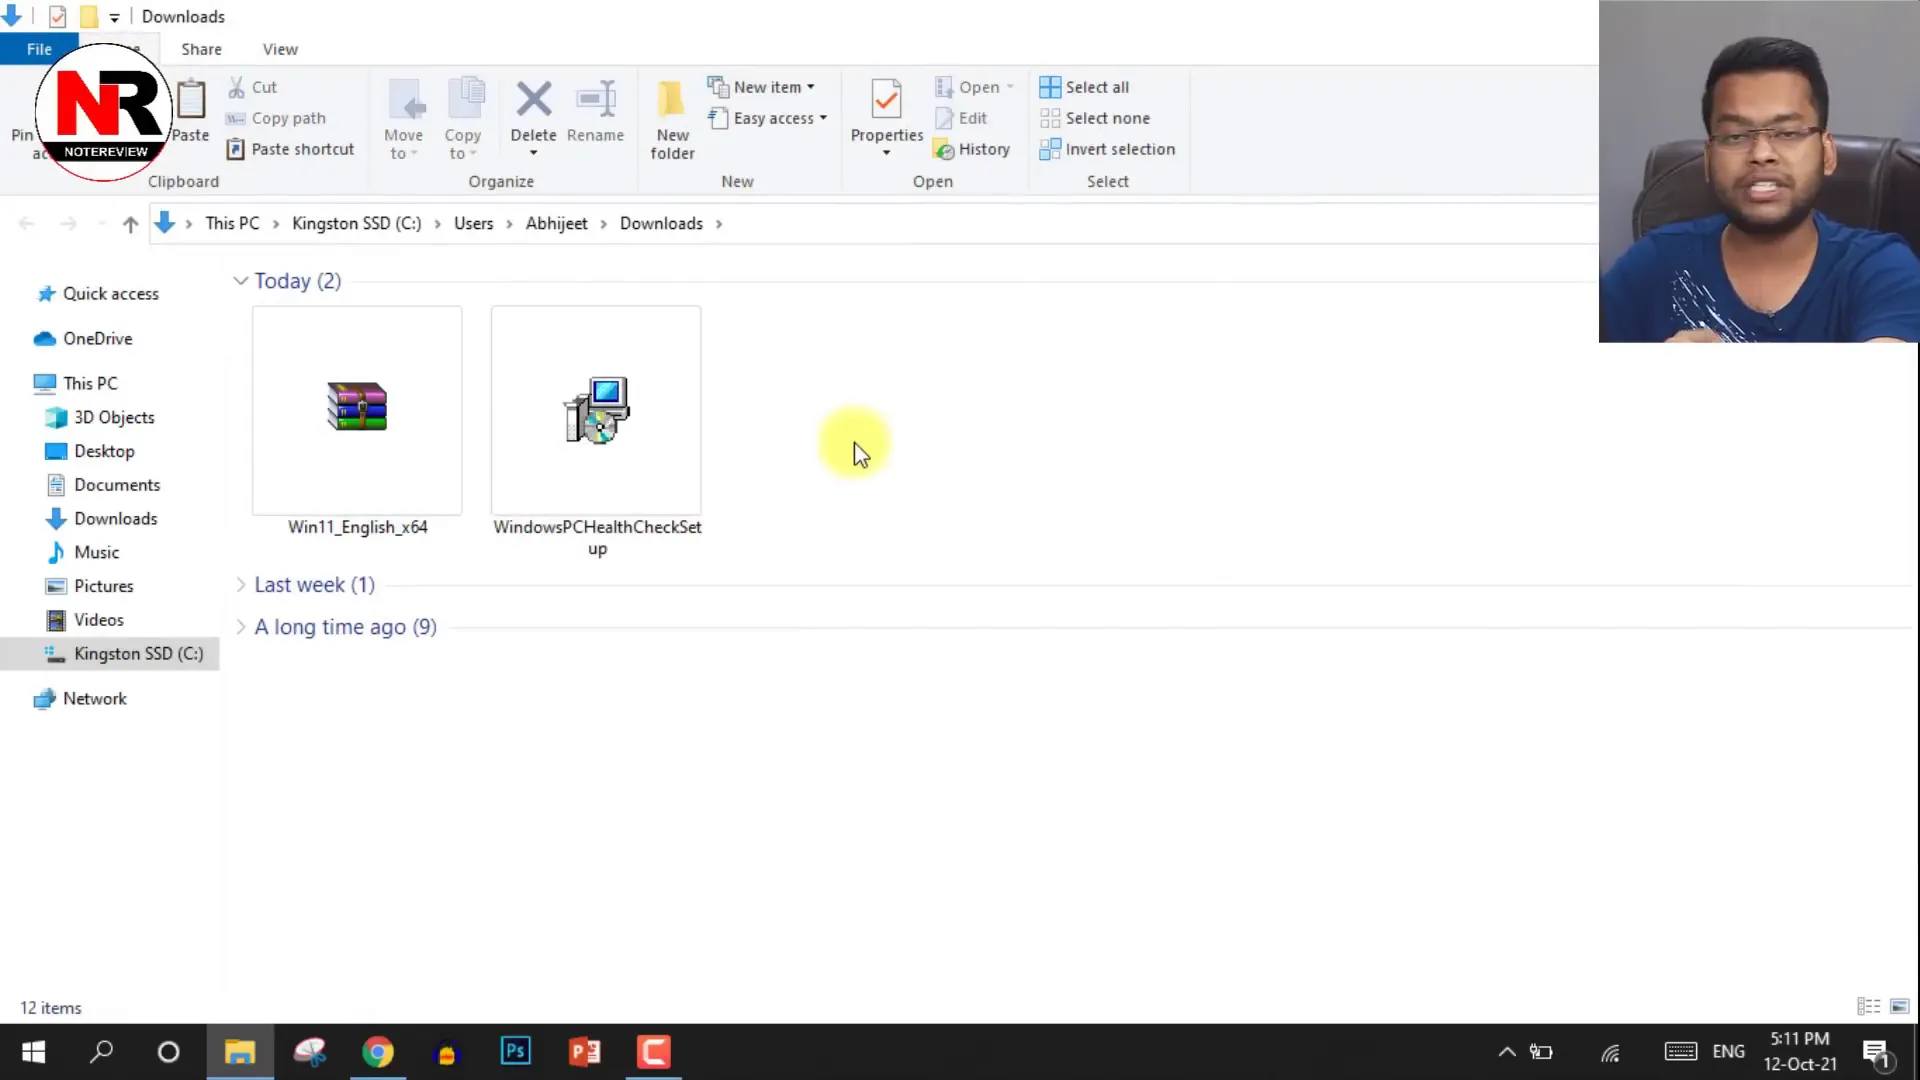
First things first, you'll need to download the PC Health Check application. This tool helps you determine if your system meets the requirements for Windows 11. Follow these steps:
- Download the PC Health Checker from the official Microsoft website.
- Install the application and agree to the terms.
- Click on the 'Check Now' button to see if your system is supported.
If everything is green, then you're good to go. However, if you see any issues such as unsupported TPM or processor, don't worry; we will bypass these.
Downloading Windows 11
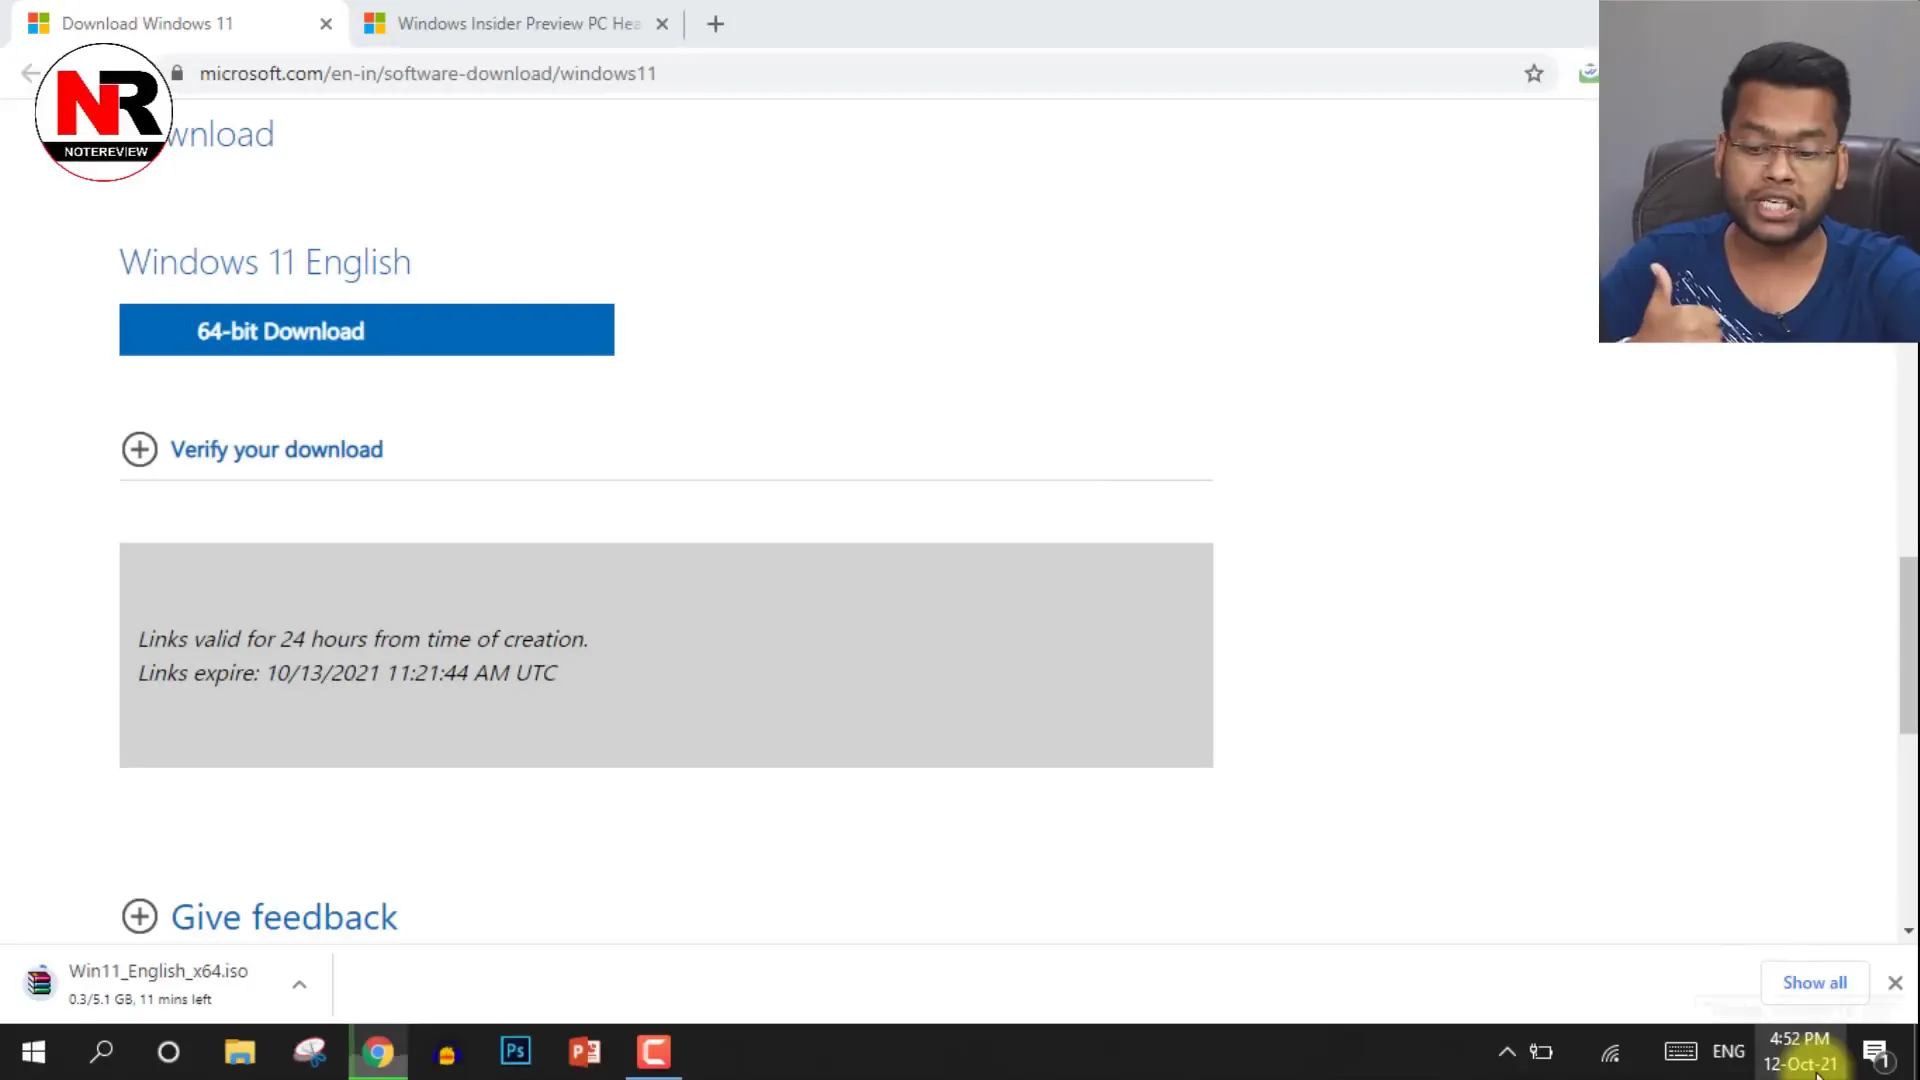
Next, you need to download the Windows 11 ISO file. Here’s how:
- Select the Windows 11 version you want to install.
- Ensure you download the 64-bit version, which is approximately 5.1 GB.
- Wait for the download to complete. It may take some time depending on your internet speed.
Extracting the ISO File
Once you have downloaded the ISO file, you need to extract it. If you don’t have extraction software, you can use built-in Windows tools or download a free application. Here’s how to extract:
- Right-click on the ISO file and select 'Extract All'.
- Choose a destination folder (Desktop is recommended for easy access).
Modifying Installation Files
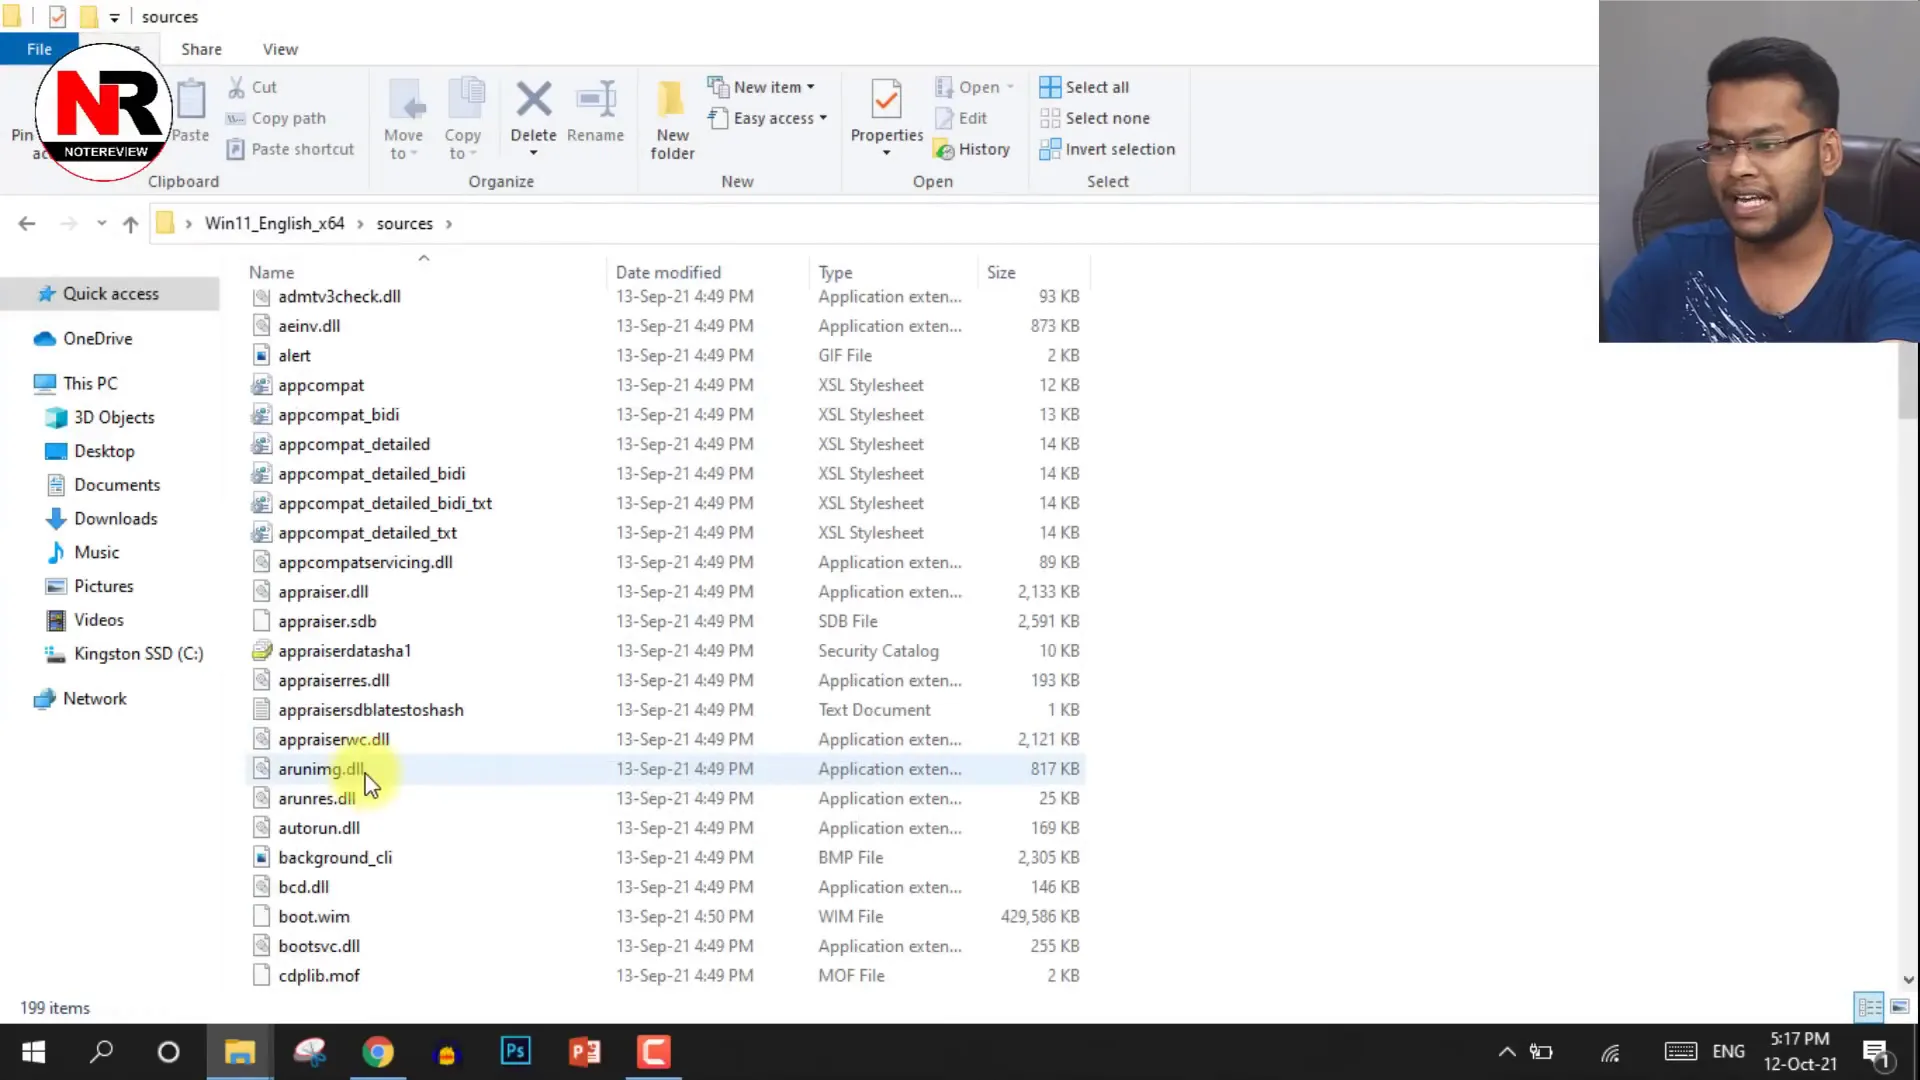
To bypass the system checks, you will need to modify a specific file in the extracted folder:
- Navigate to the 'sources' folder in the extracted files.
- Locate the file with a .dll extension that checks for TPM and other requirements.
- Open this file with Notepad and look for the lines that check for TPM.
- You can either delete these lines or replace them to bypass the checks.
It's crucial to make a backup of this original file before making any changes.
Starting the Installation Process
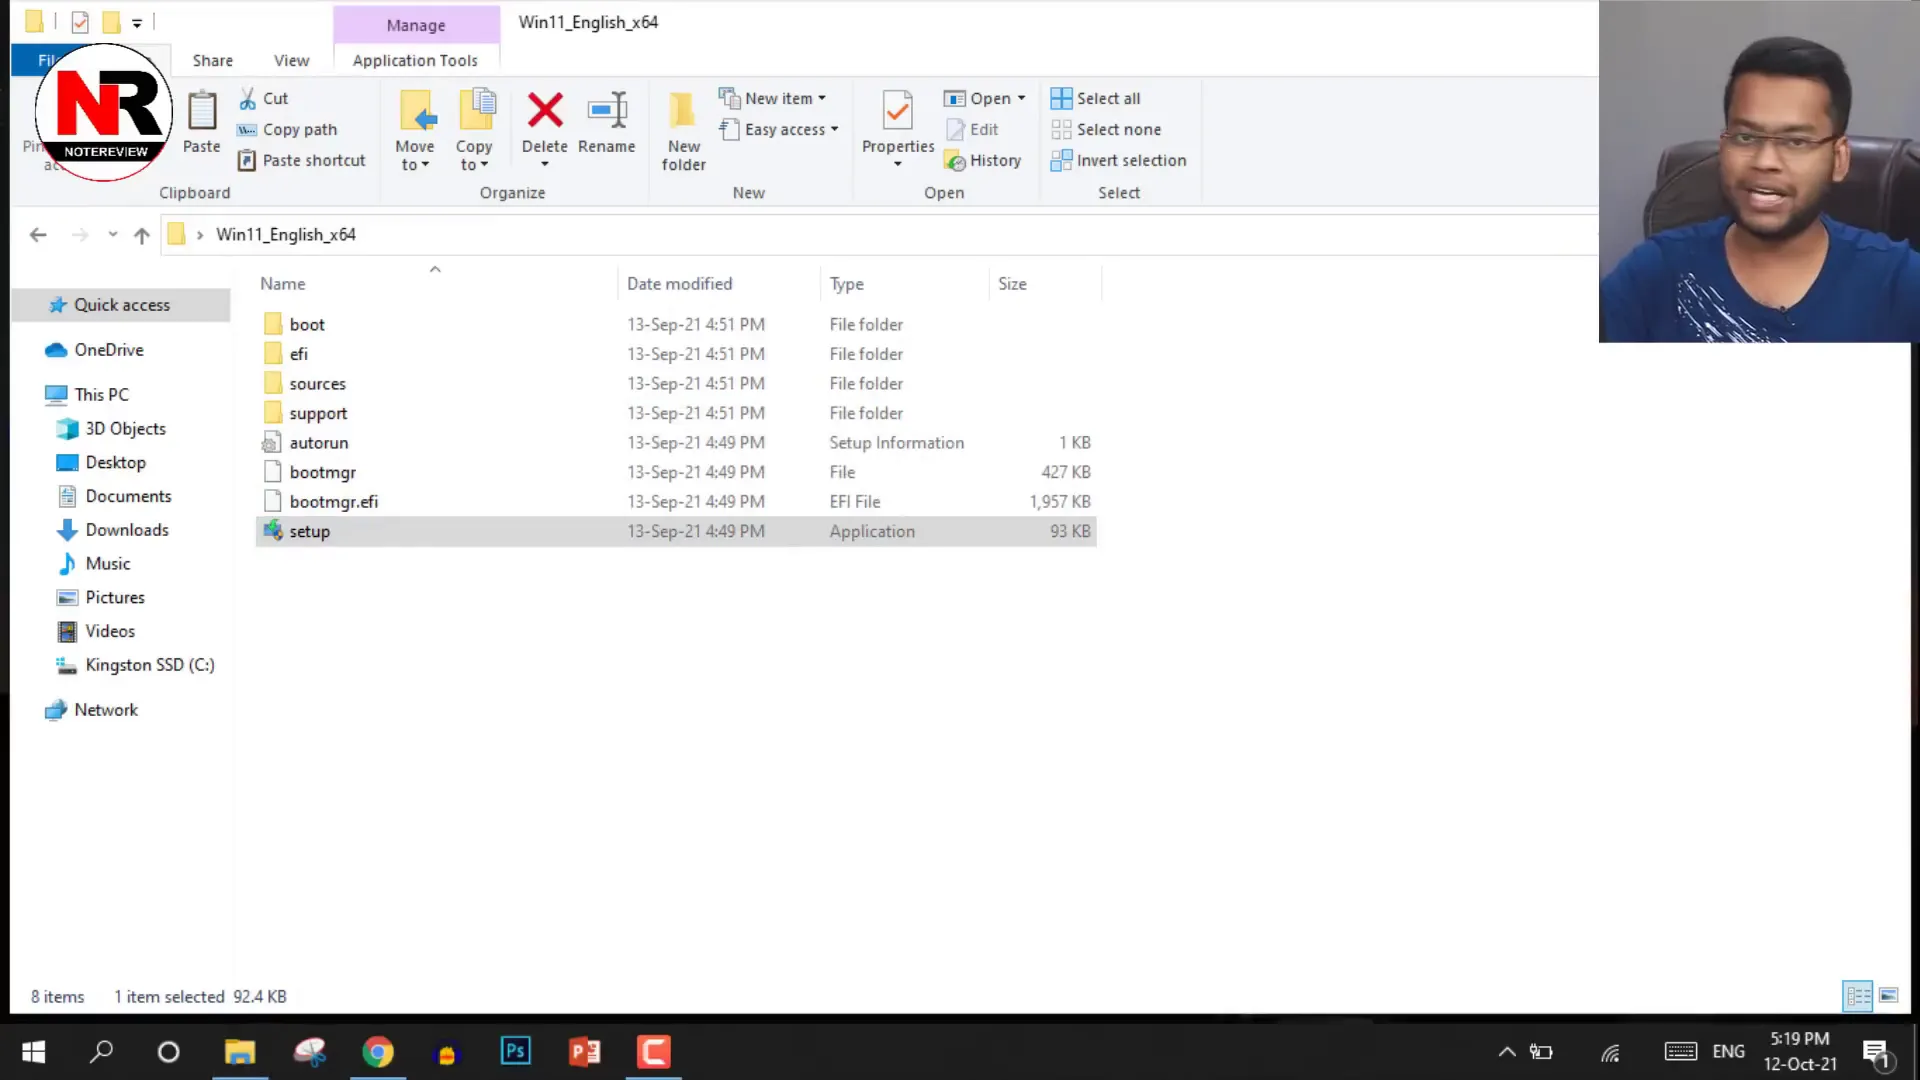
Now that you have modified the necessary files, it’s time to start the installation:
- Go back to the main folder of the extracted files.
- Double-click on the 'setup.exe' to launch the installation process.
Choosing the Installation Type
During the installation, you will be prompted to choose the type of installation you want. It's essential to select the option that keeps your personal files and applications. Here are your choices:
- Keep personal files and apps: This option will replace your current OS without affecting your files.
- Keep personal files only: This will keep your files but remove apps and settings.
- Nothing: This will remove everything from your system.
For most users, the first option is recommended to ensure a smooth transition to Windows 11.
Finalizing the Installation
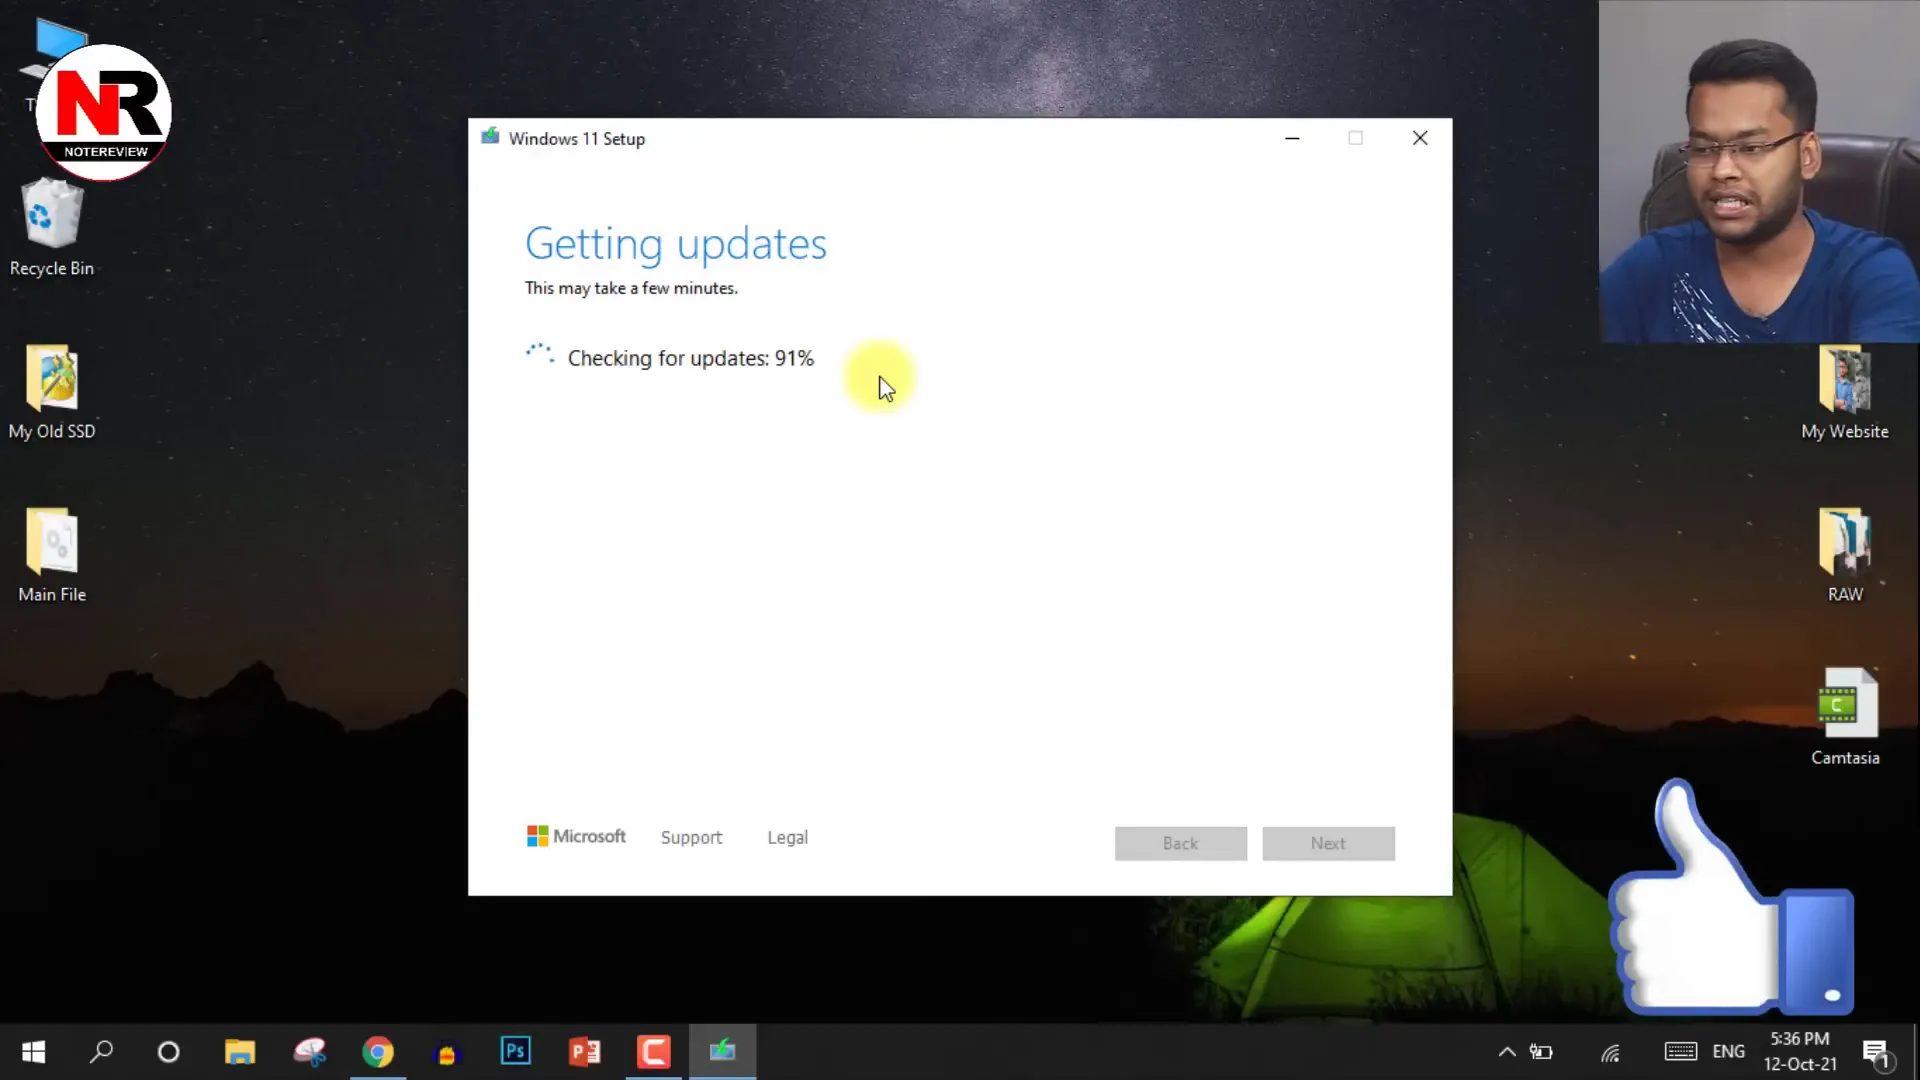
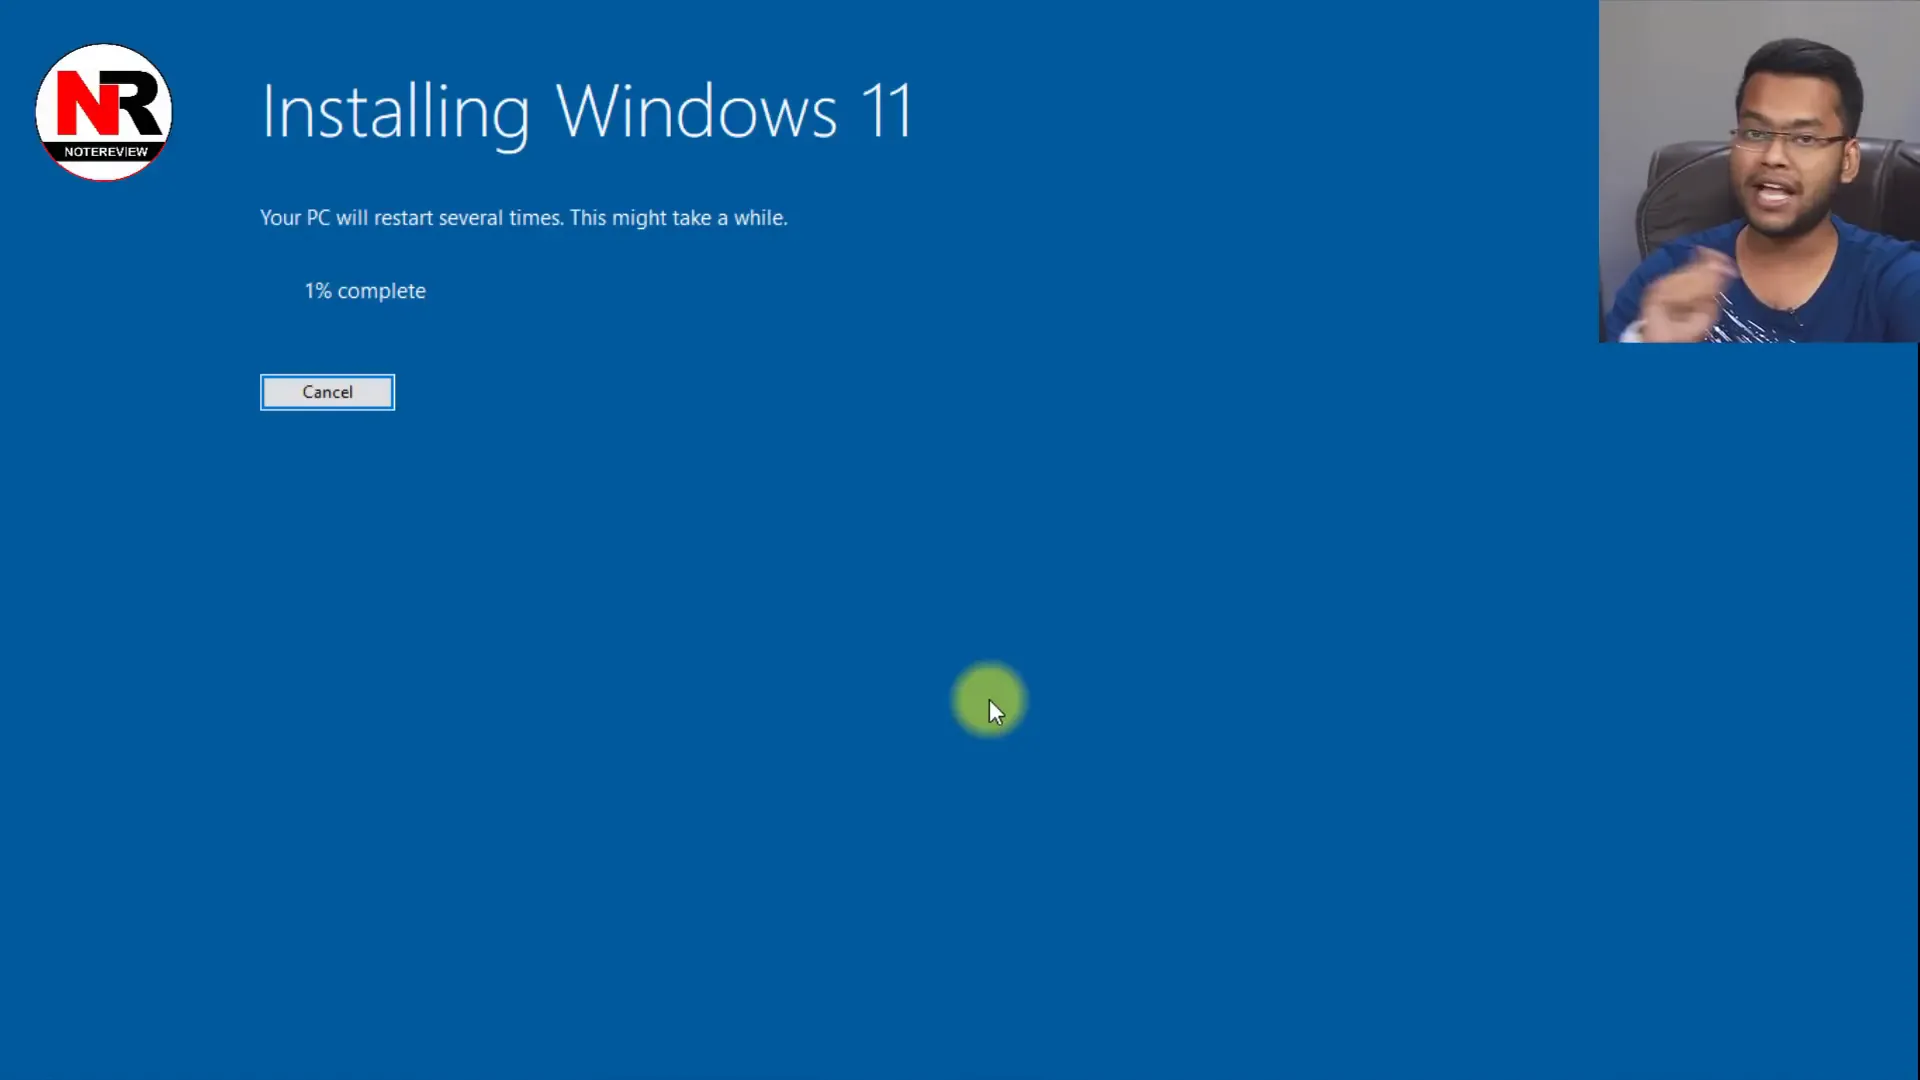
After you make your selection, the installation will proceed. This process may take some time, and your PC will restart several times. Make sure to keep your laptop plugged in during this process to avoid power issues.
Post-Installation Setup
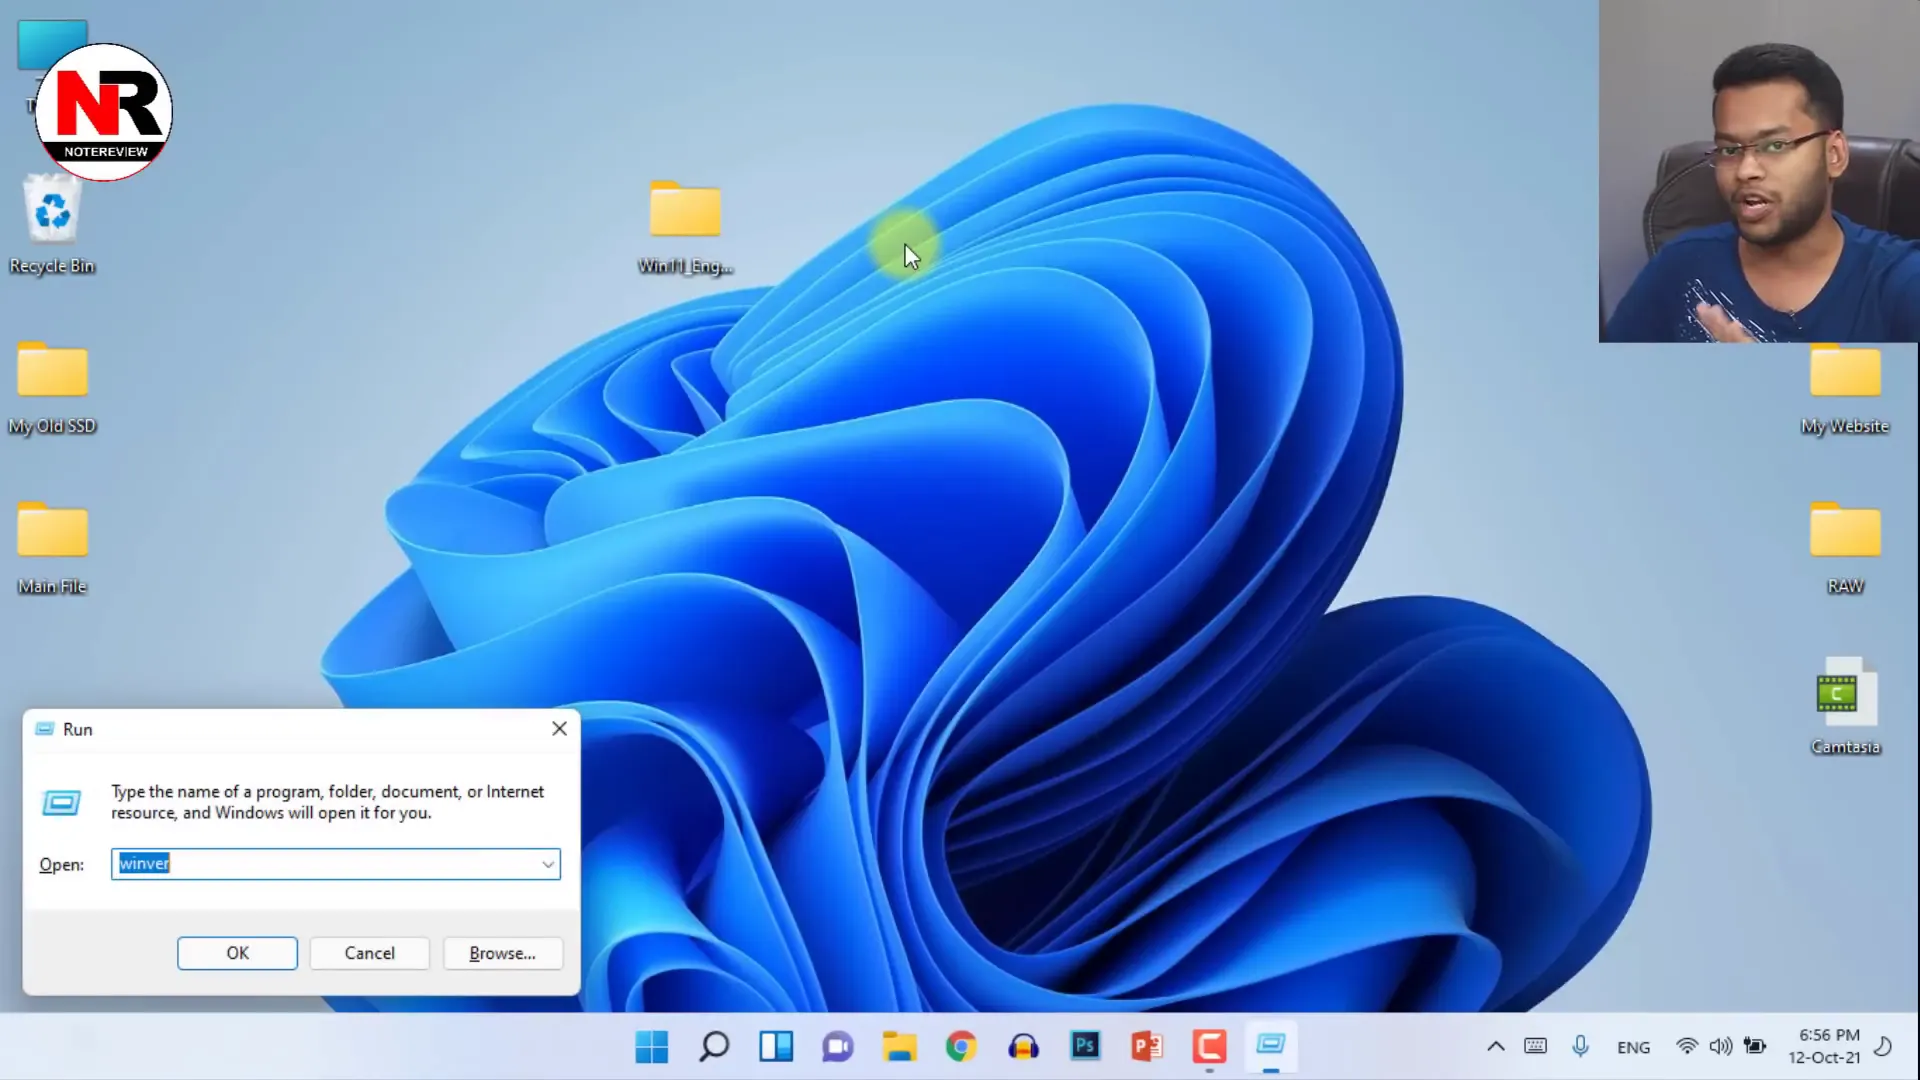
Once Windows 11 is installed, you may want to check the PC Health Checker again. It may still indicate that your PC is unsupported, but you should find that all your data, applications, and files remain intact.
Conclusion
Congratulations! You have successfully installed Windows 11 on an unsupported PC without losing any data. This process involves a few technical steps, but following along carefully can help you achieve the desired outcome. If you have any questions or run into issues, feel free to leave a comment below!
If you found this guide helpful, please like and share it to help others looking to upgrade their systems!
Fair Use Disclaimer:
The content is used under the doctrine of fair use for informational, educational, and commentary purposes. All rights to the original video belong to the respective creator. The inclusion of this material does not imply ownership or affiliation with the original creator.
Watch the original video here: https://youtu.be/TyKxFCCW-HY
What's Your Reaction?


